
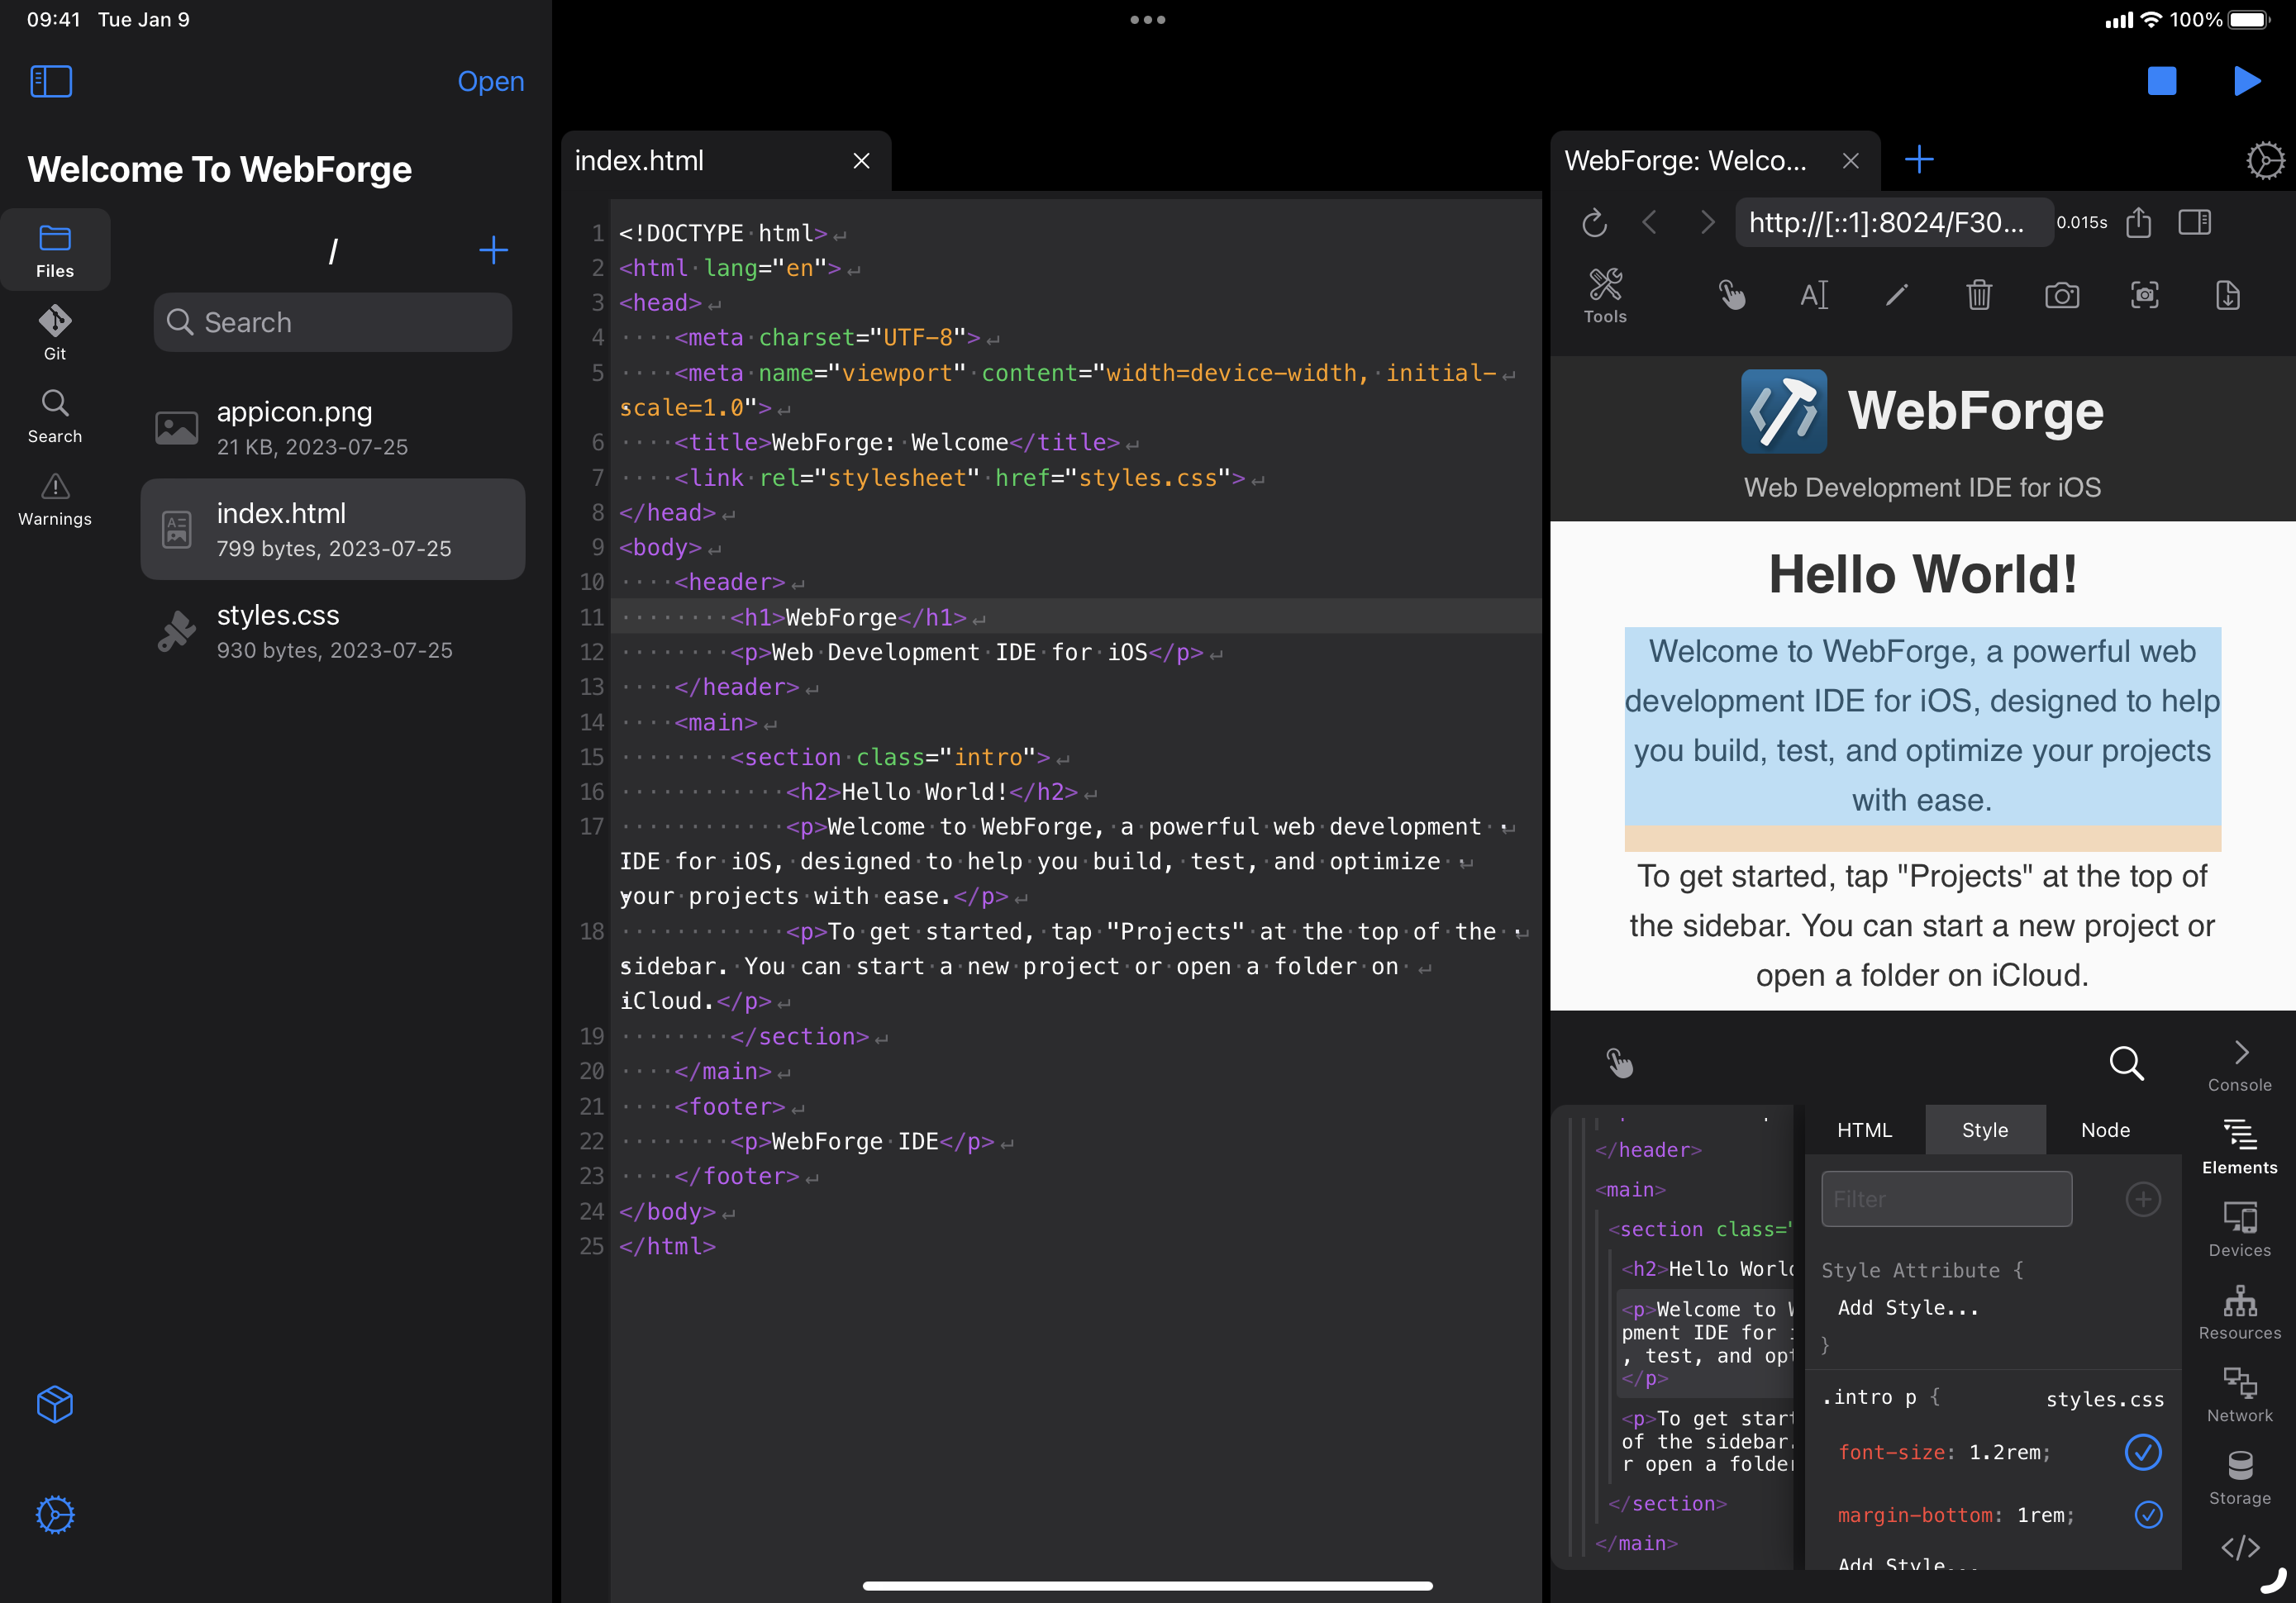
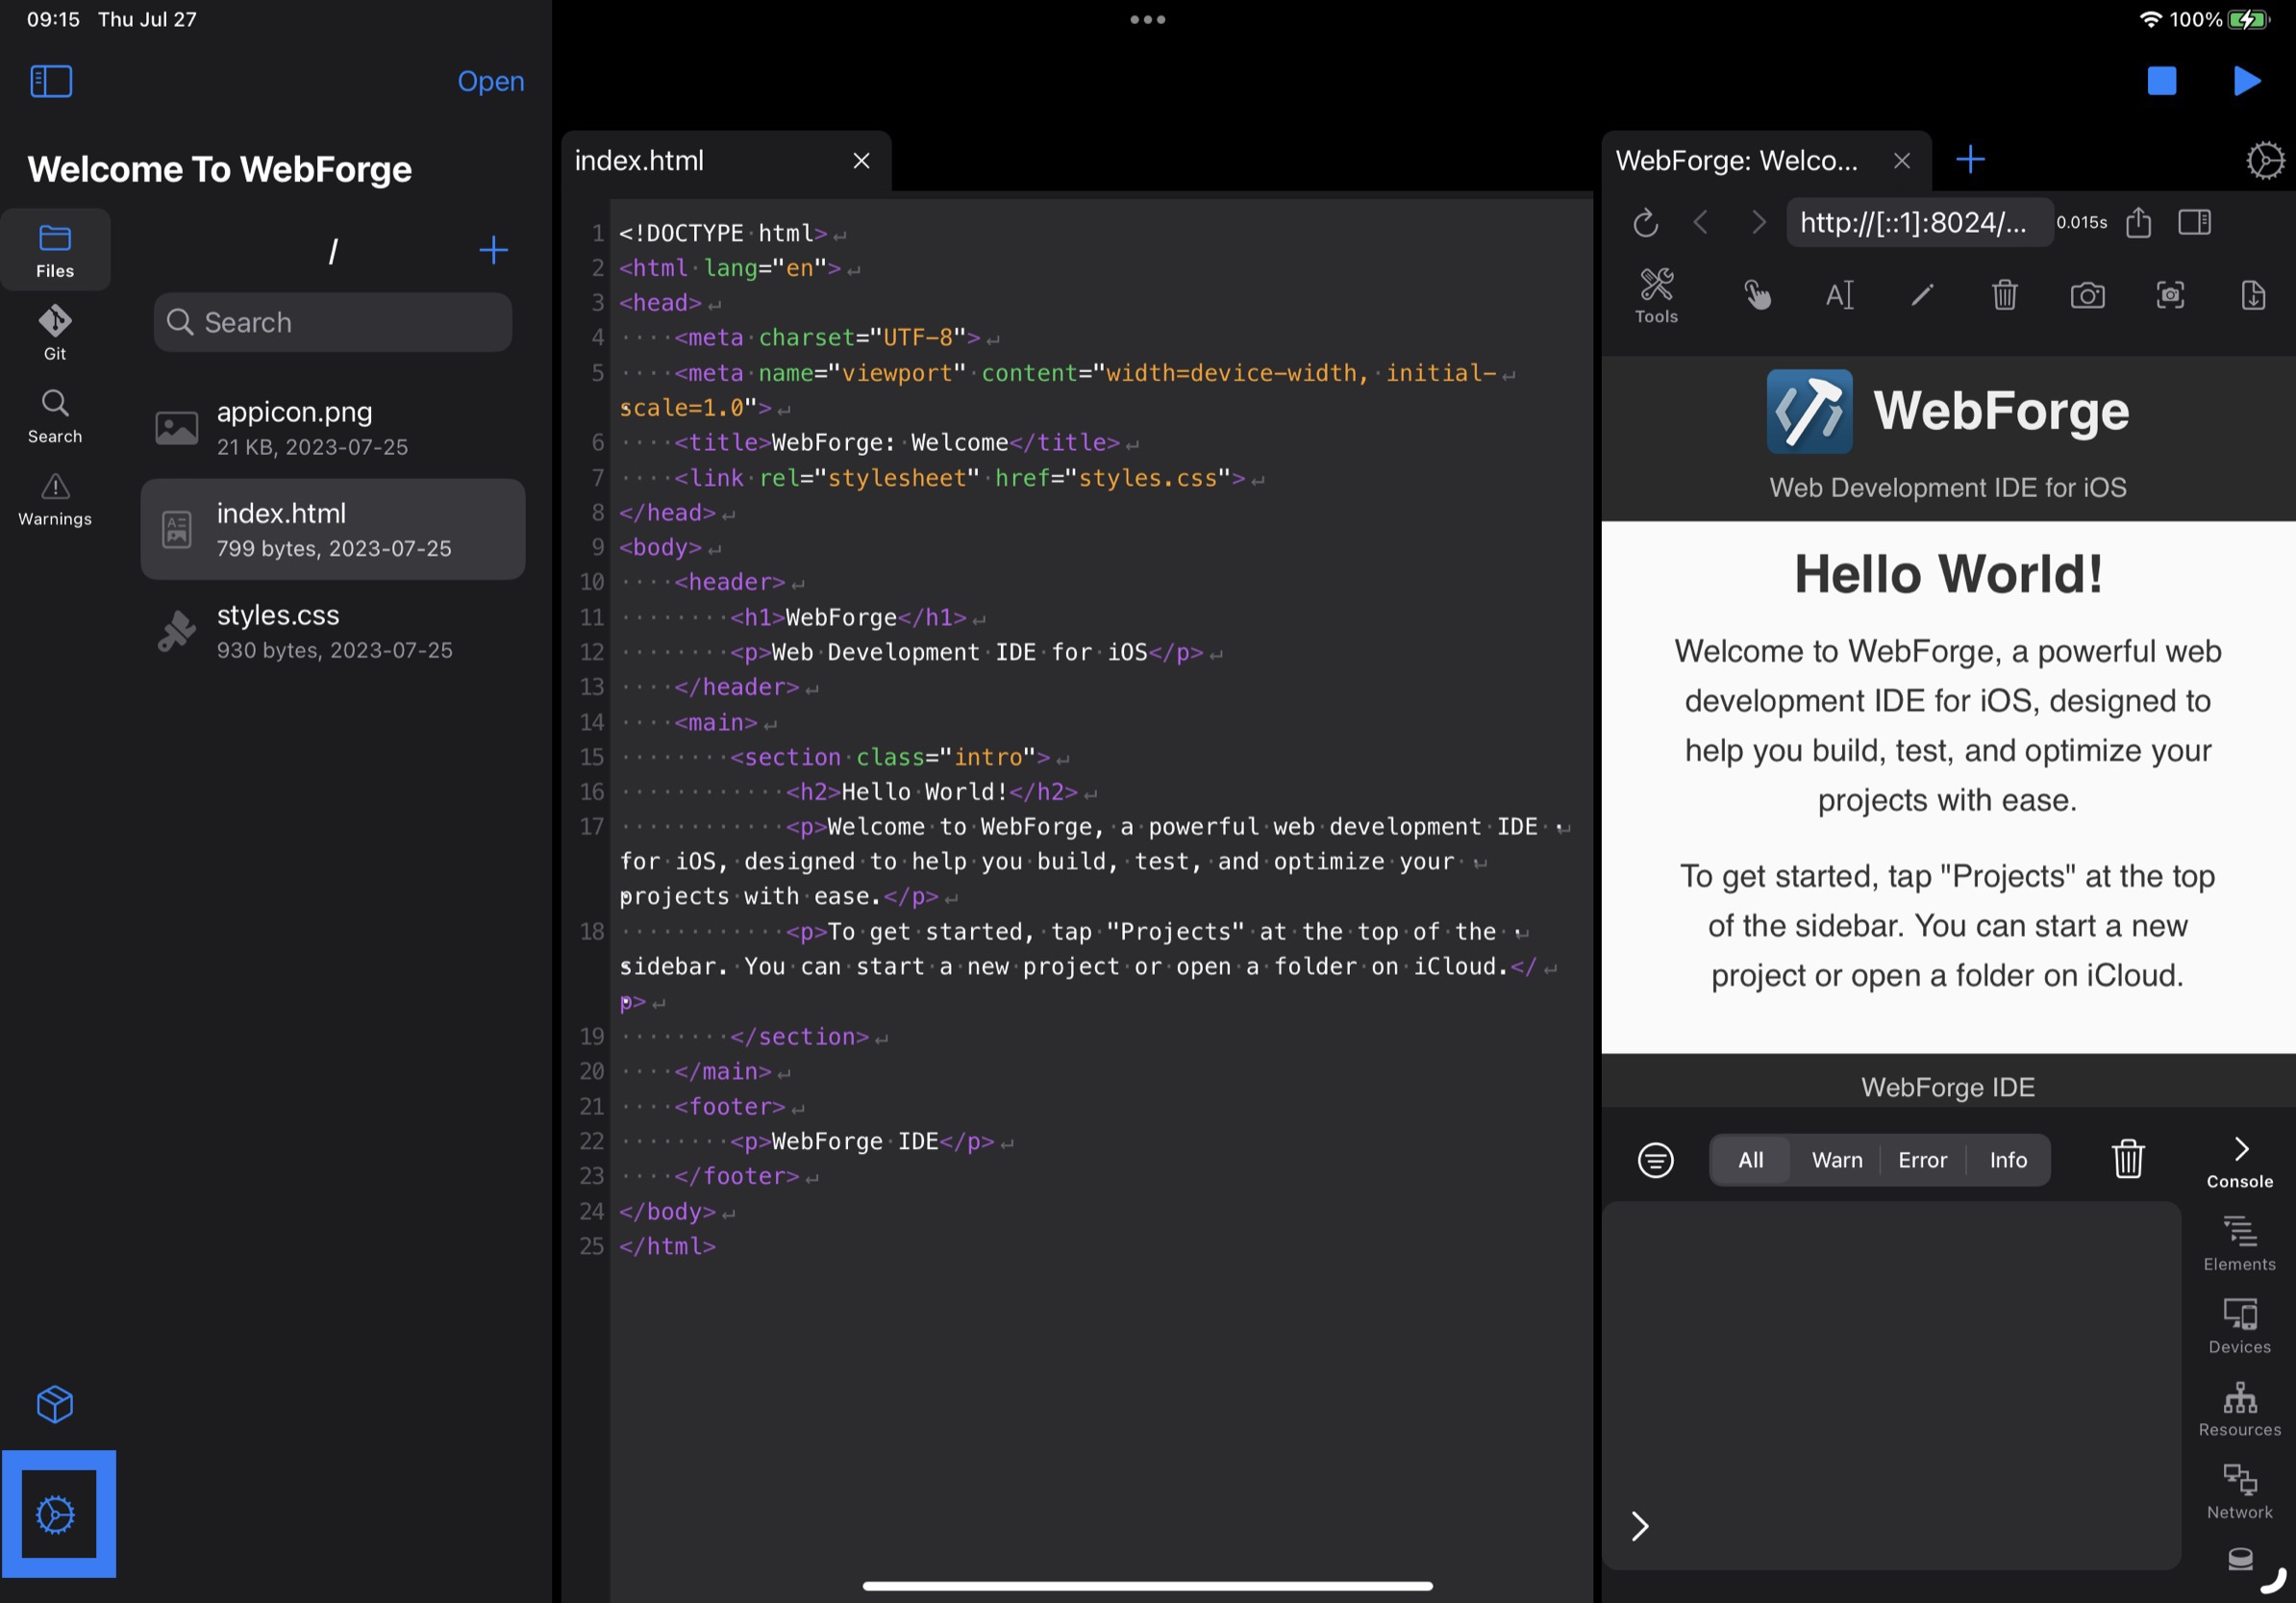
1. User Interface
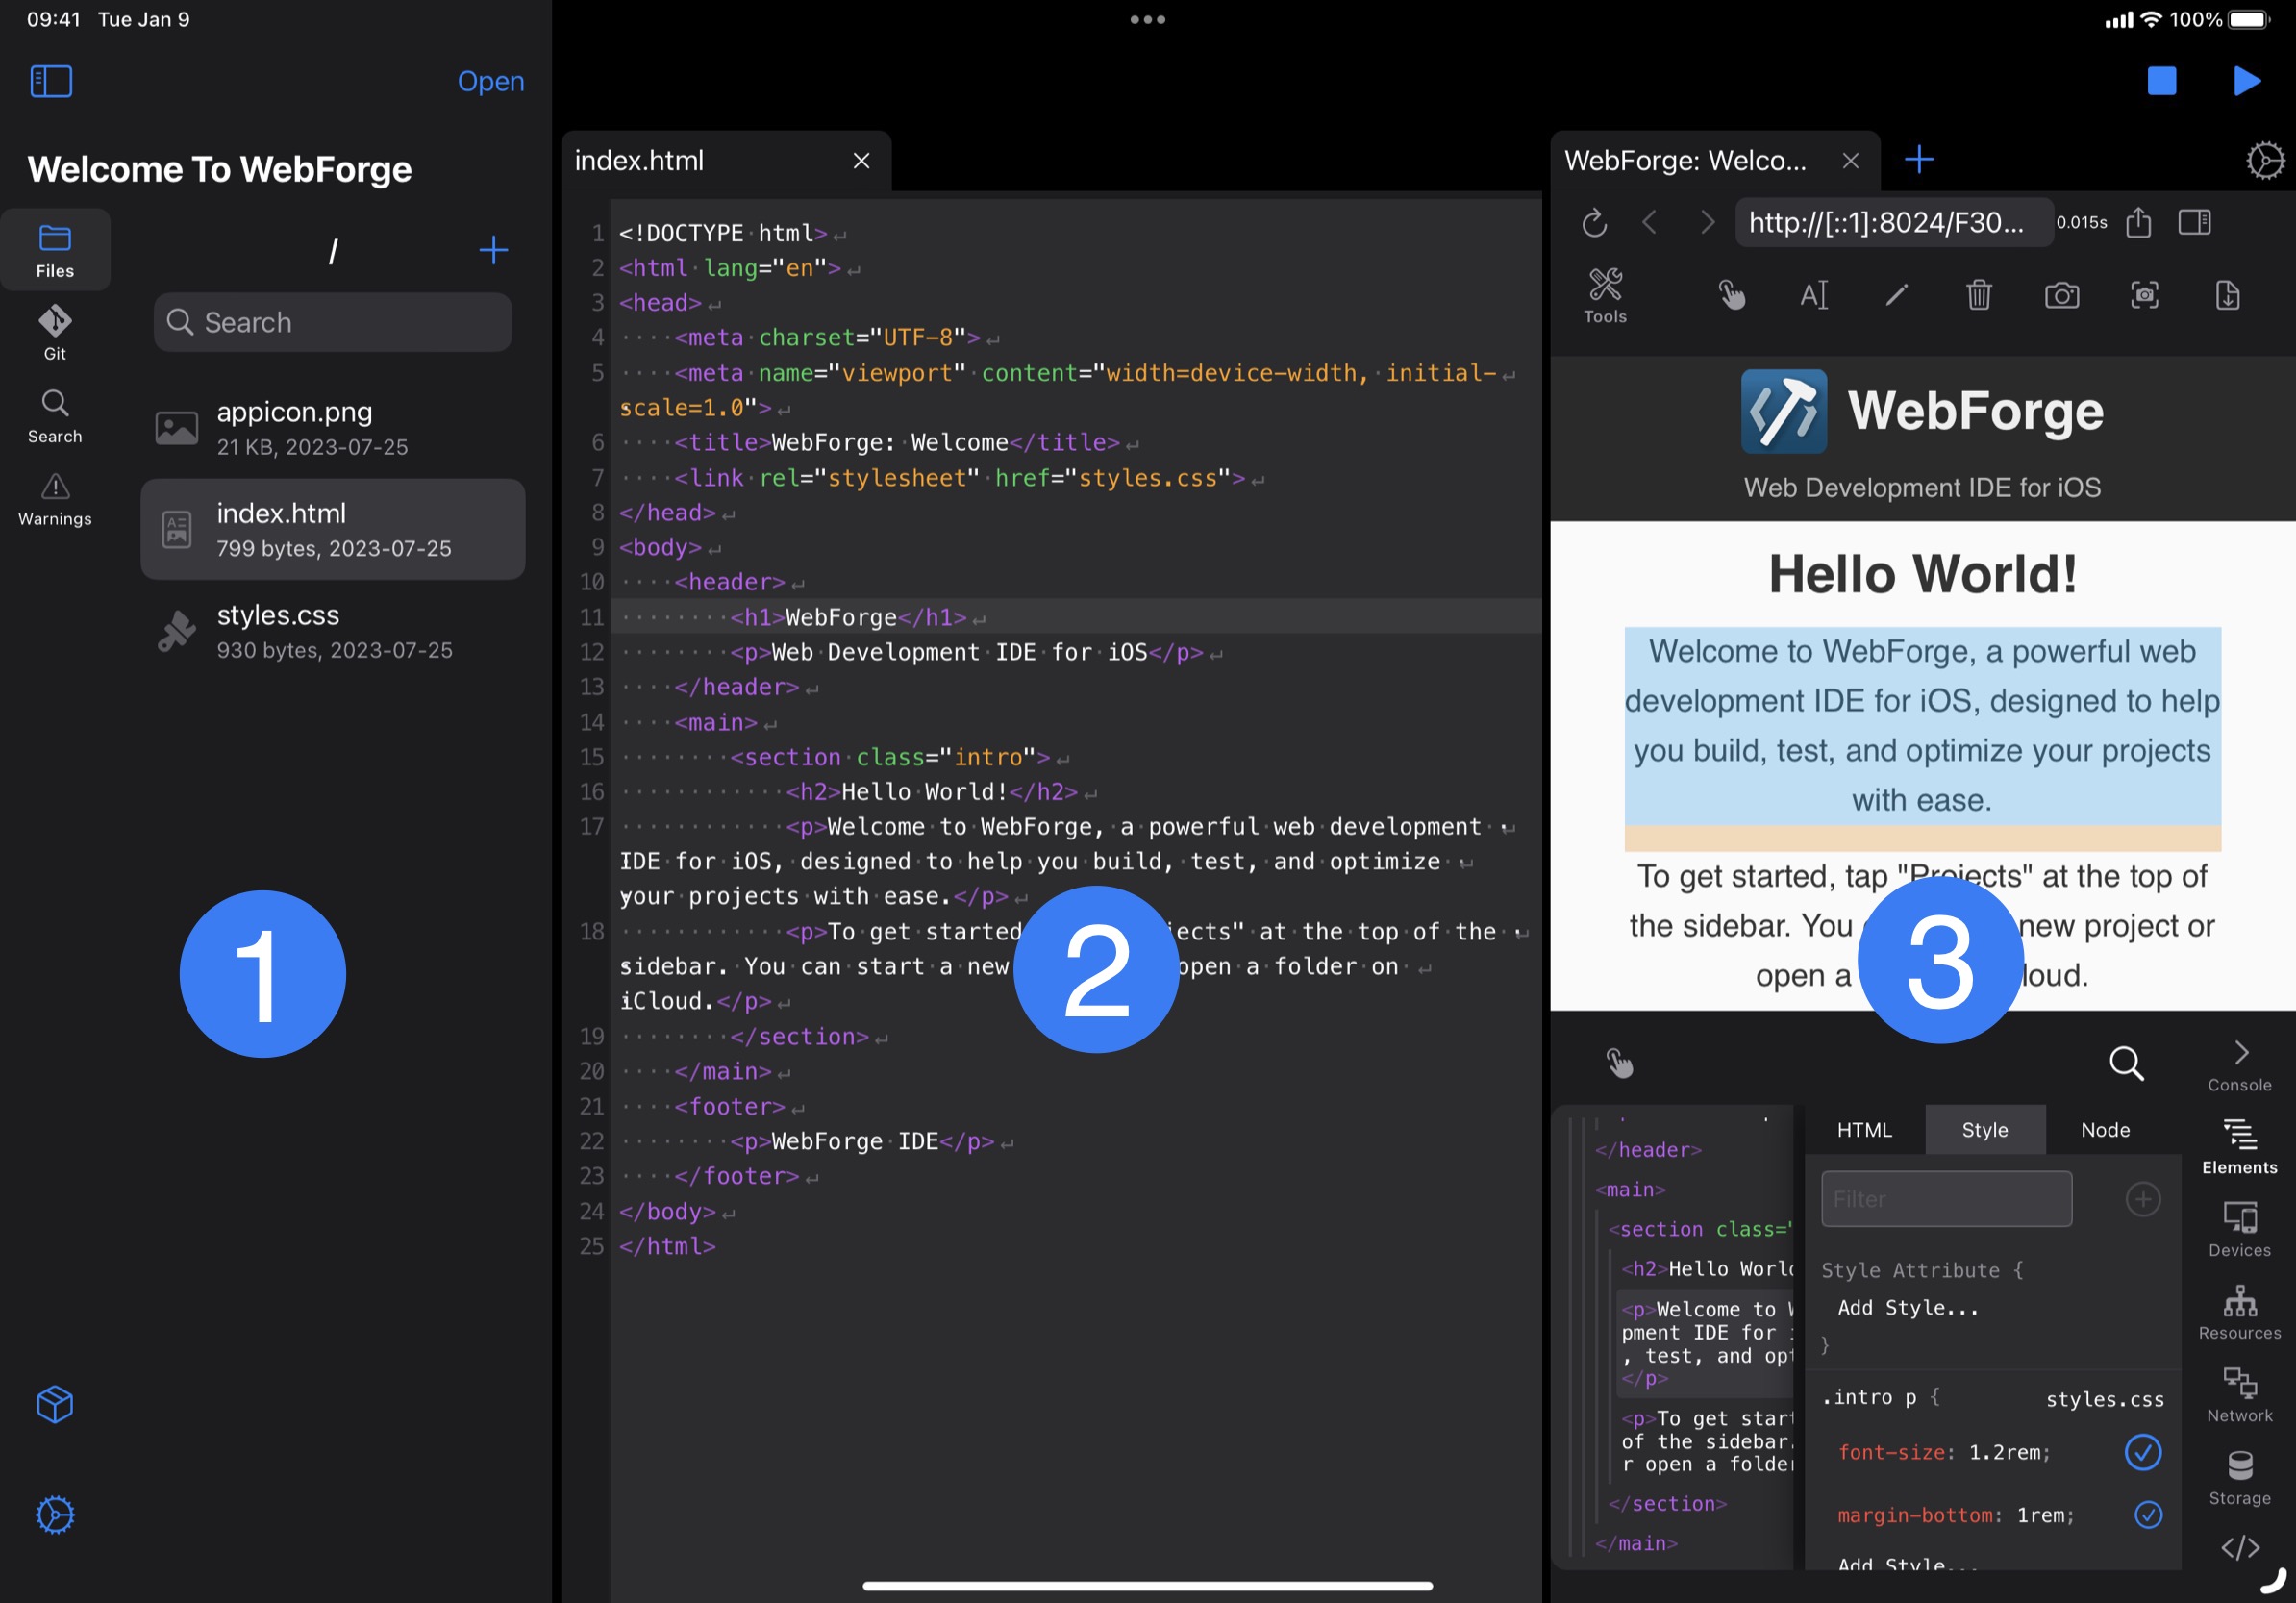
The WebForge user interface consists of three main sections:
- Side Panel
- Code Editor
- Browser (hidden initially)
1.1 Side Panel
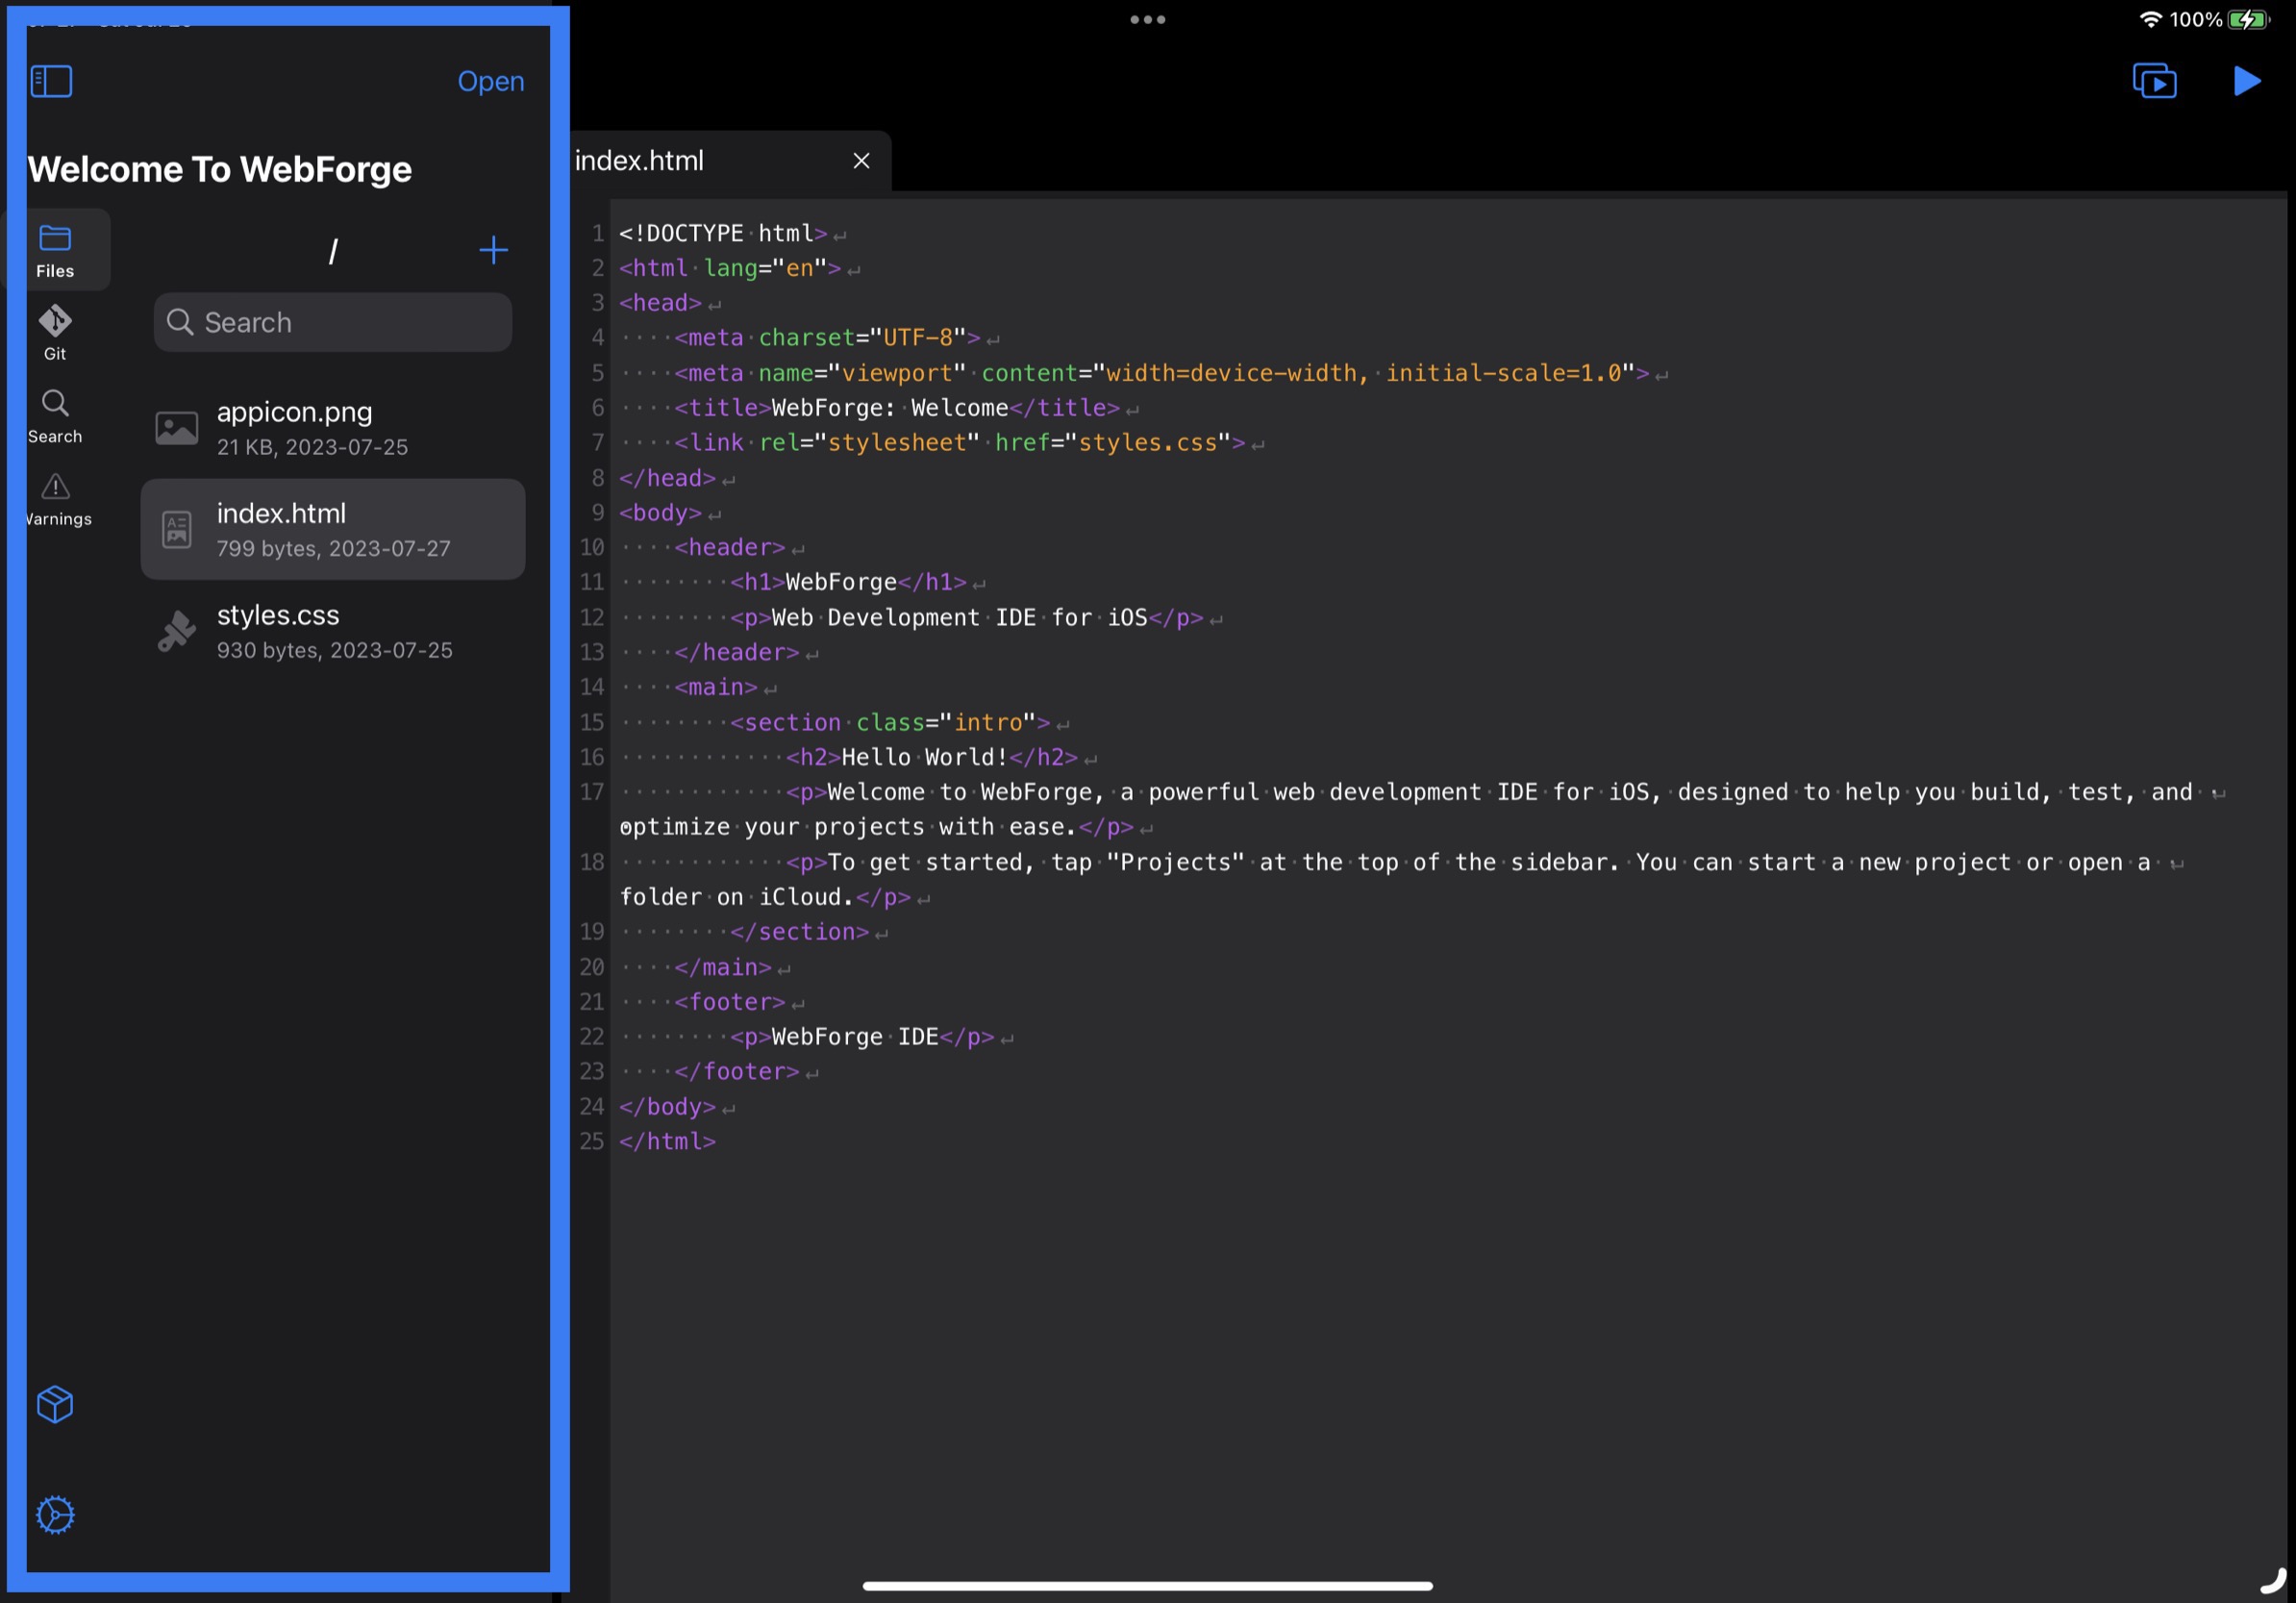
The side panel contains all tools, panels, and extensions you use to work with your project. Tools here generally deal with your project as a whole.
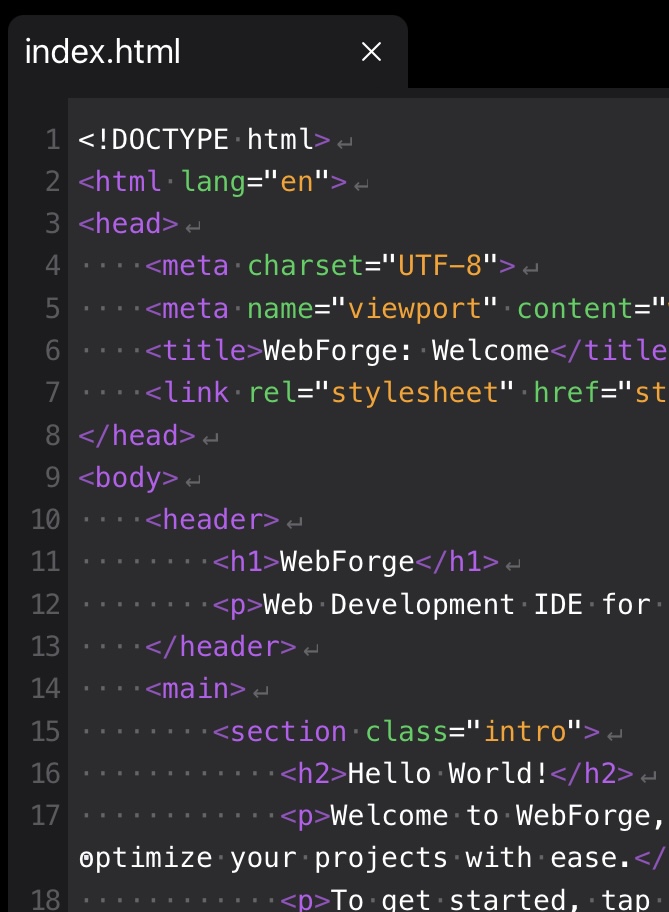
1.2 Code Editor
This is the main area to edit your files. This area provides a tabbed interface so you can have as many files open as you like.
You can edit code as you would with any other text editor. The editor provides syntax highlighting for a wide variety of languages, smart identing, and various keyboard shortcuts optimized for code editor.
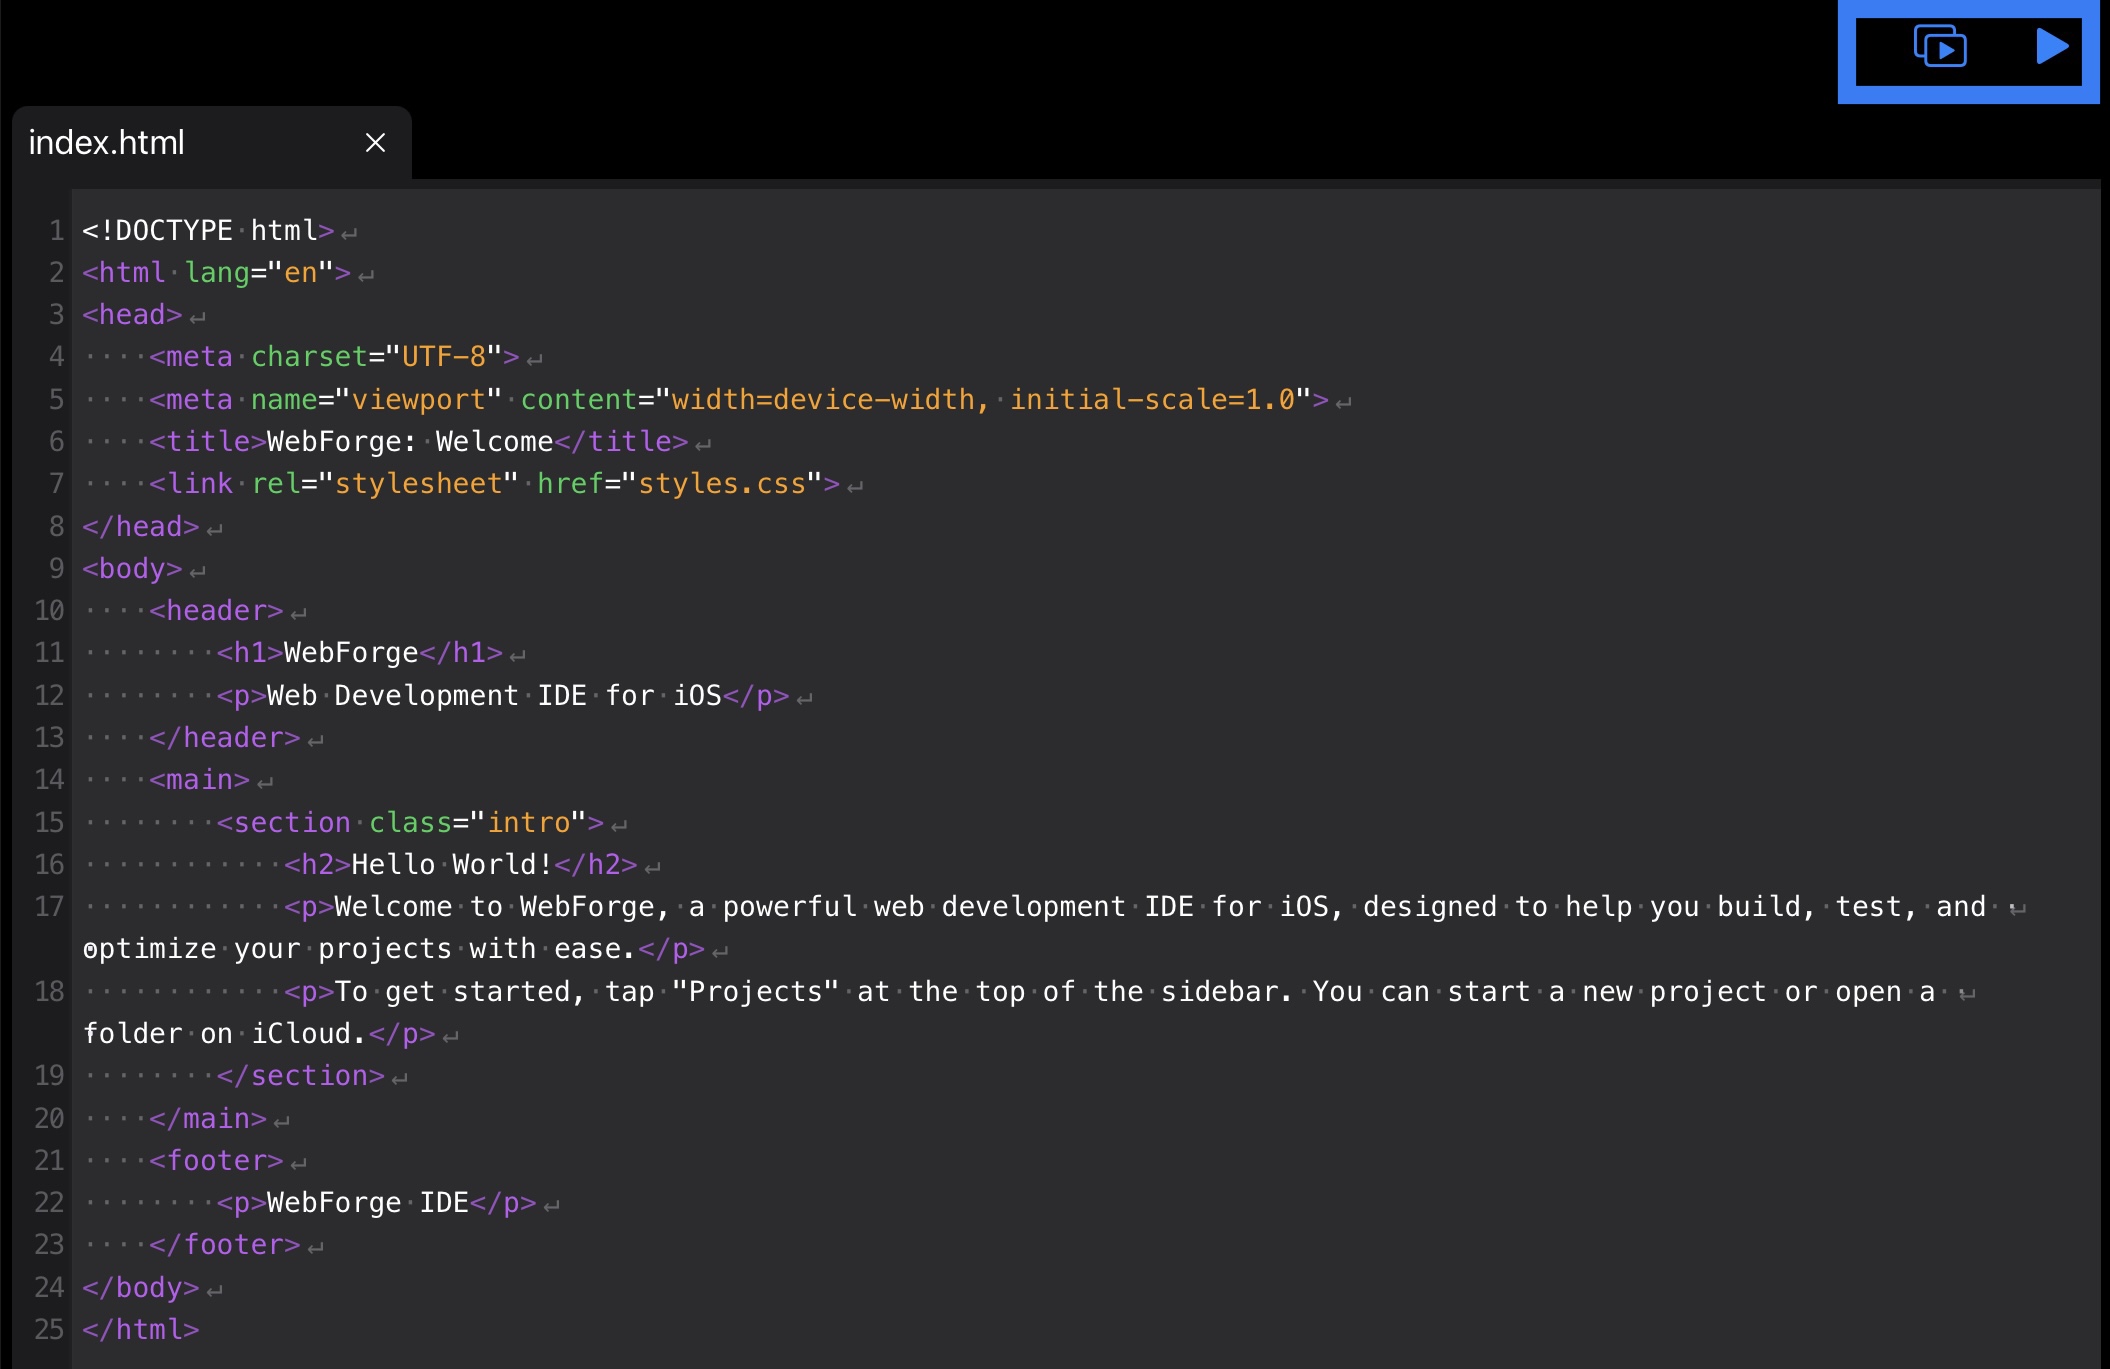
In the top right of the editor are the play buttons. Tapping these opens the built-in browser:
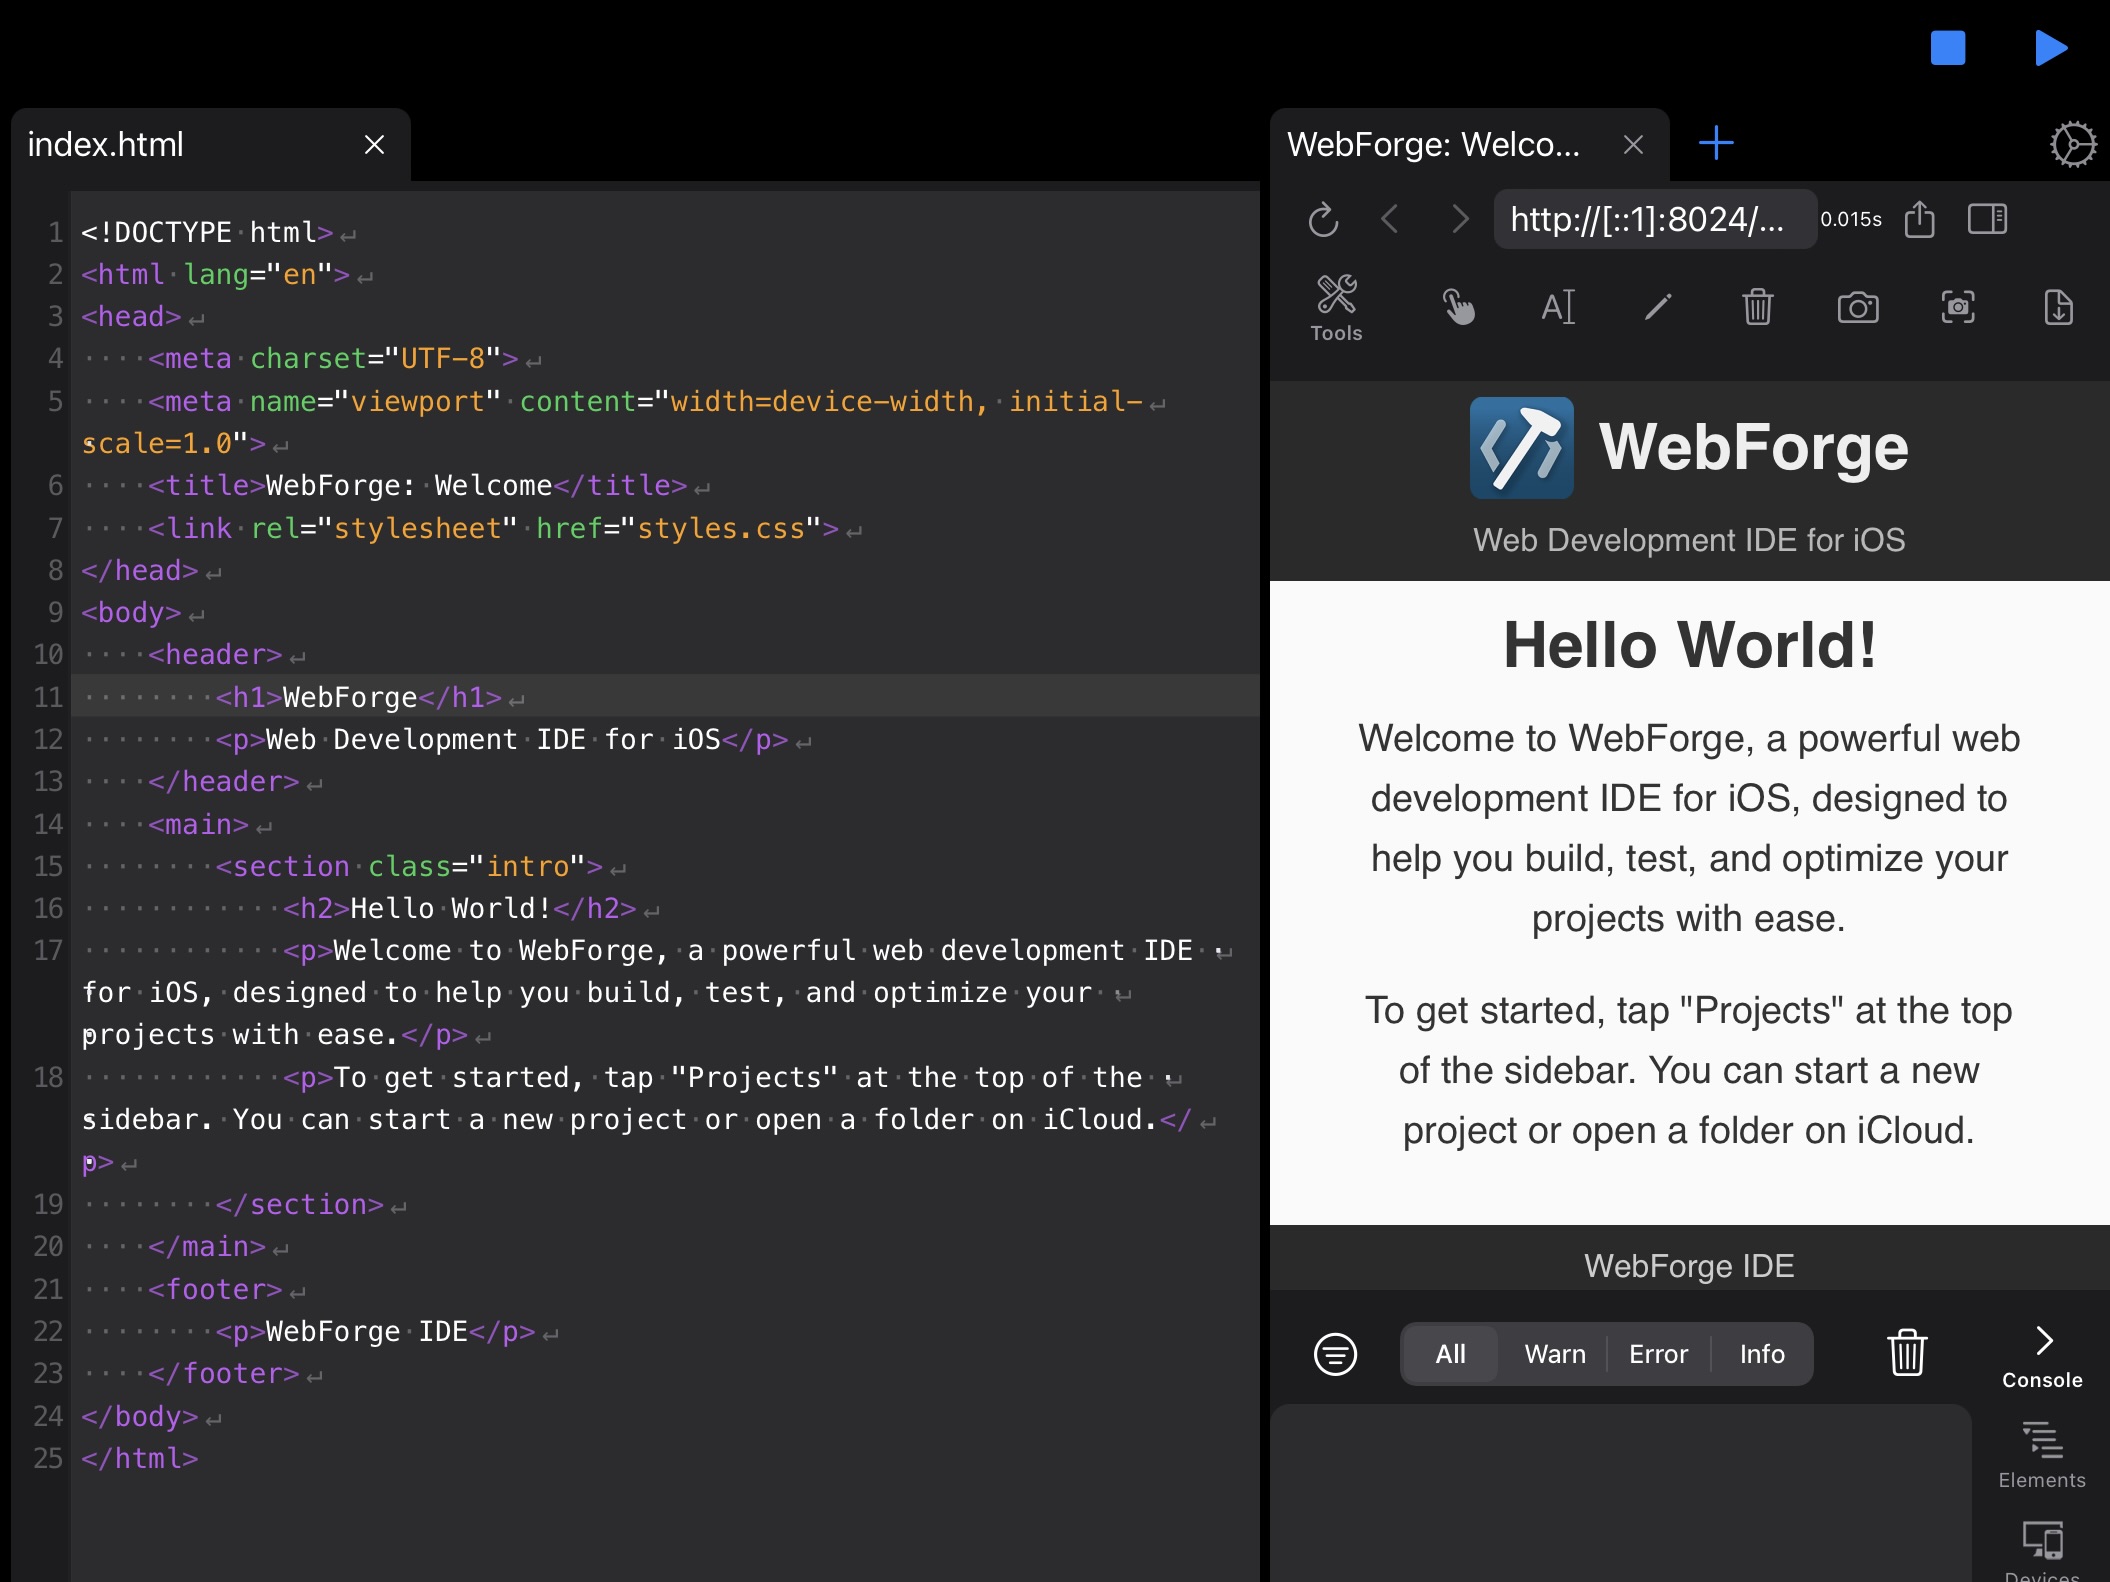
The browser will display the file you're working on, including all referenced resources: CSS files, images, etc.
1.3 Browser
The built-in browser is a fully-featured embedded version of Inspect Browser. This browser packed with developer tools and all can be used on your projects. This browser is WebKit-based and loads your project files from a built-in web server so you can expect your project to act the same way it would on the web.
You can open the browser by tapping one of the of play buttons in the top-right of the screen:
There are two options for how to open the browser:
 Opens the browser in a separate window. This is useful to get a bigger view of your file, or get more space to investigate the page with developer tools. However, it will partially cover the editor so it's more difficult to switch back and forth during coding.
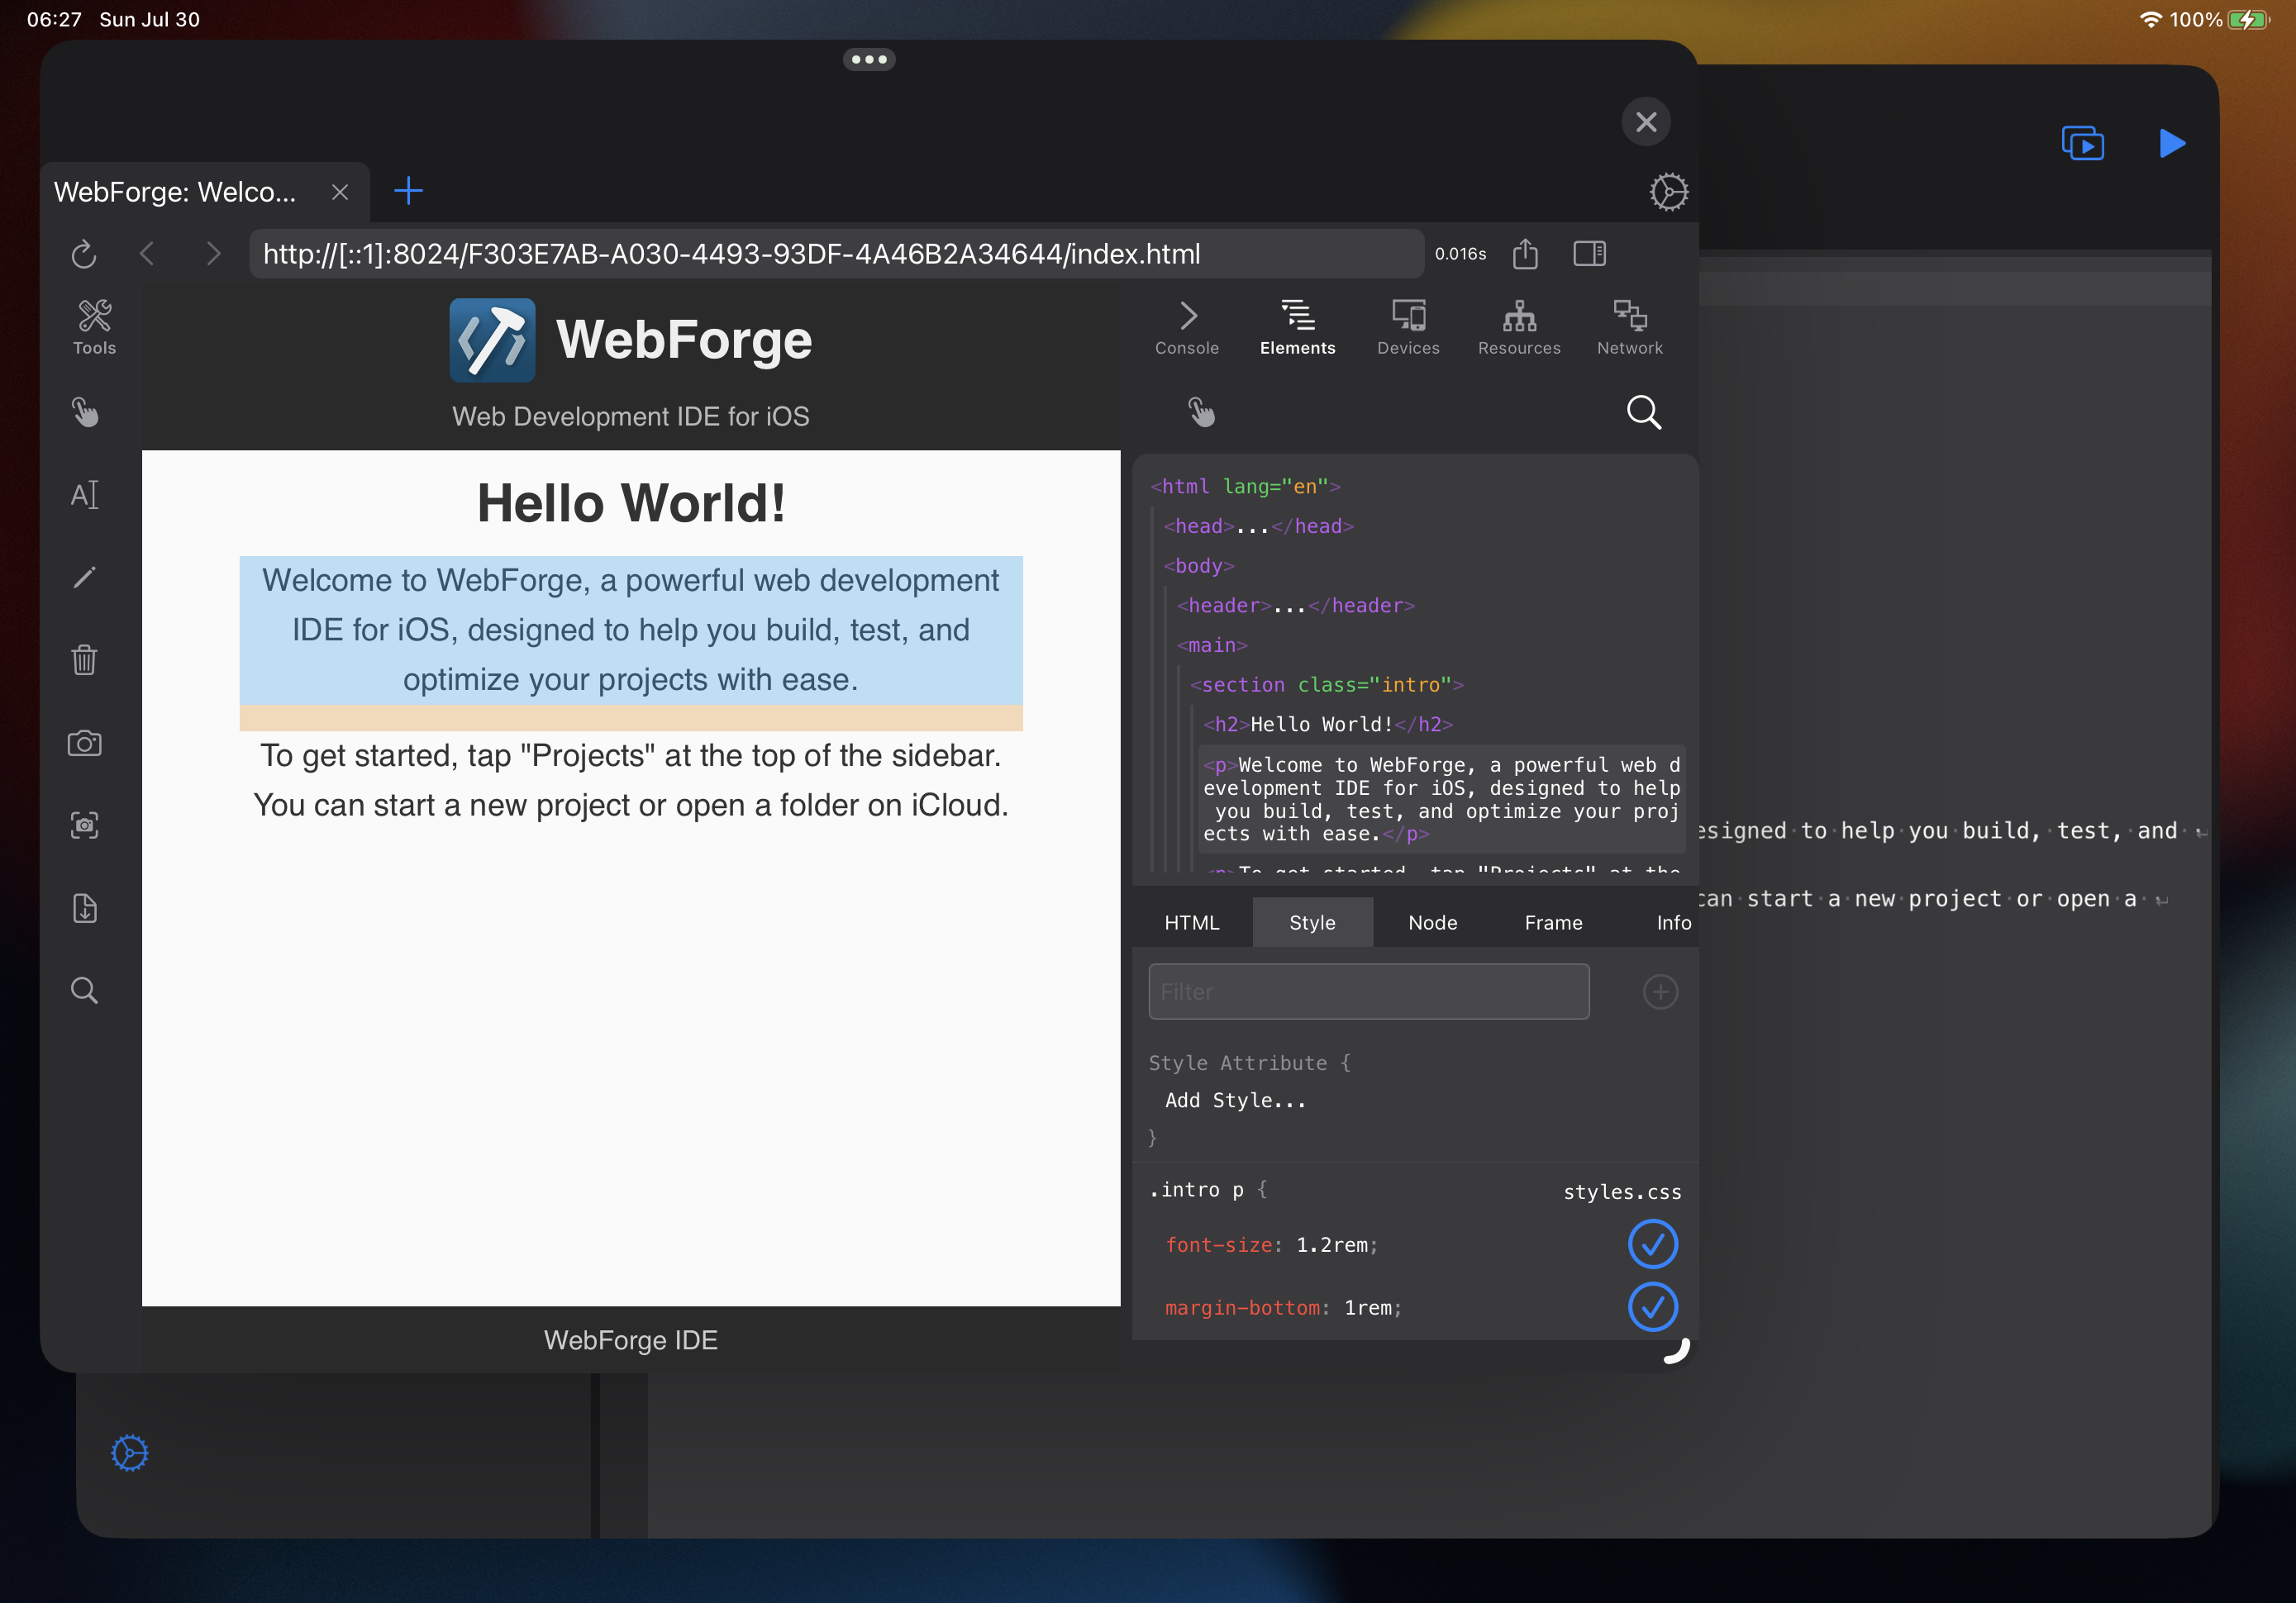
 Opens the browser in a split-view next to the editor. The page display will be smaller but will not cover the editor. This is better for active coding.
2. Panels
The side panel contains all tools, panels, and extensions you use to work with your project. Tools here generally deal with your project as a whole.
WebForge has four panels available when you first open the app, however extensions can add more.
-
 Files
Files
Manages project files.
-
 Git
Git
Manages version control.
-
 Search
Search through project files.
-
 Warnings
Lists all notices, warnings, and errors for all project files.
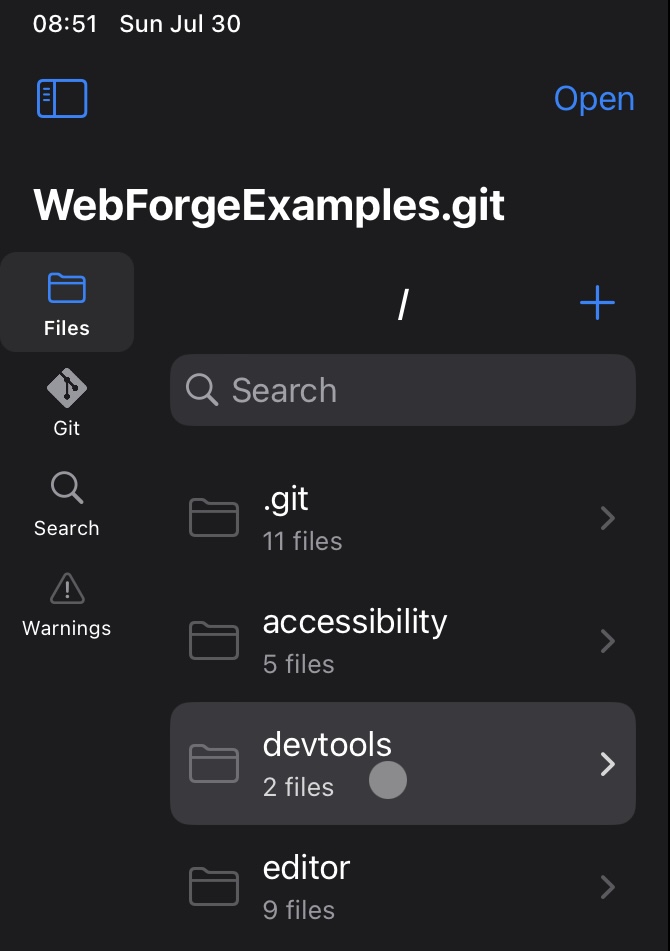
2.1 Files
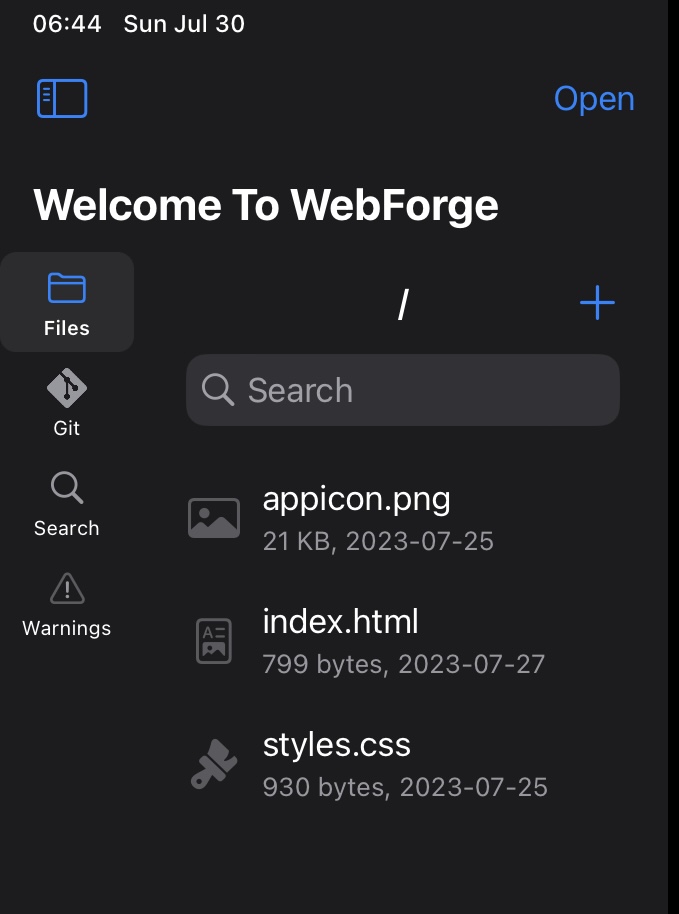
The files panel is where you manage all of your project's files.
At the top of the panel is the current directory ("/" in the screenshot indicates the project's root folder).
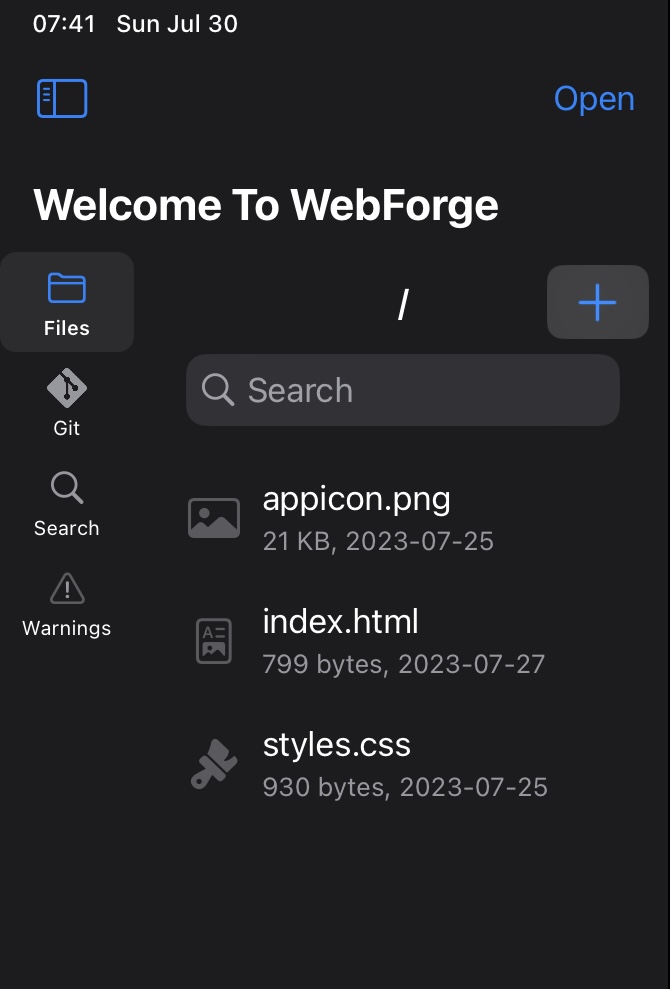
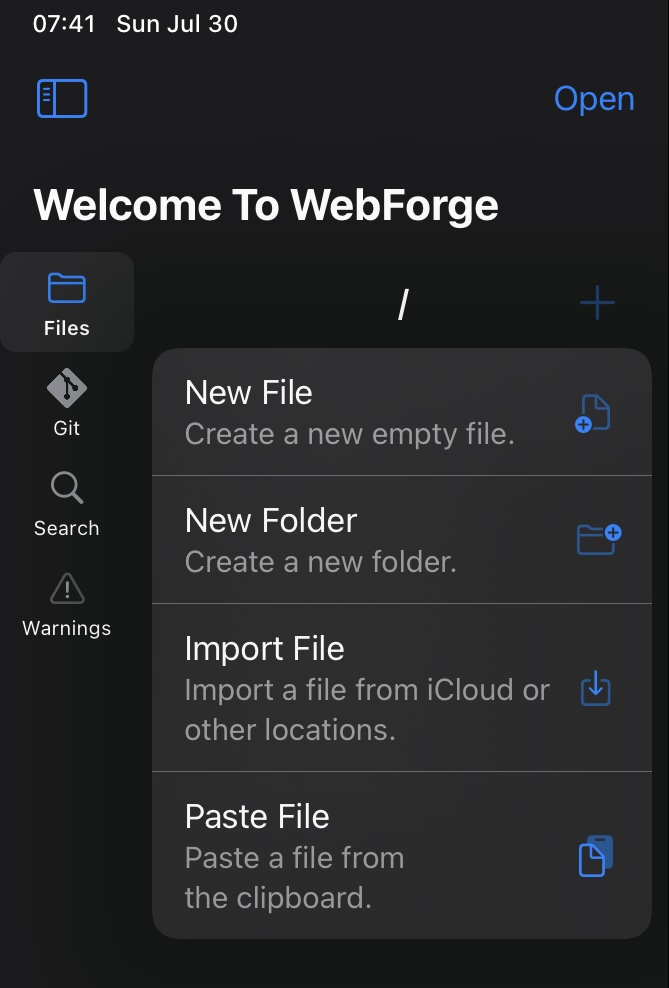
2.1.1 Adding Files
Next to the current folder name, you'll see a "+" icon. Tapping this shows a menu with options to create a new file, create a new folder, import a file from iCloud, or paste a file from the clipboard. These are all ways you can bring new files into your project.
➡️
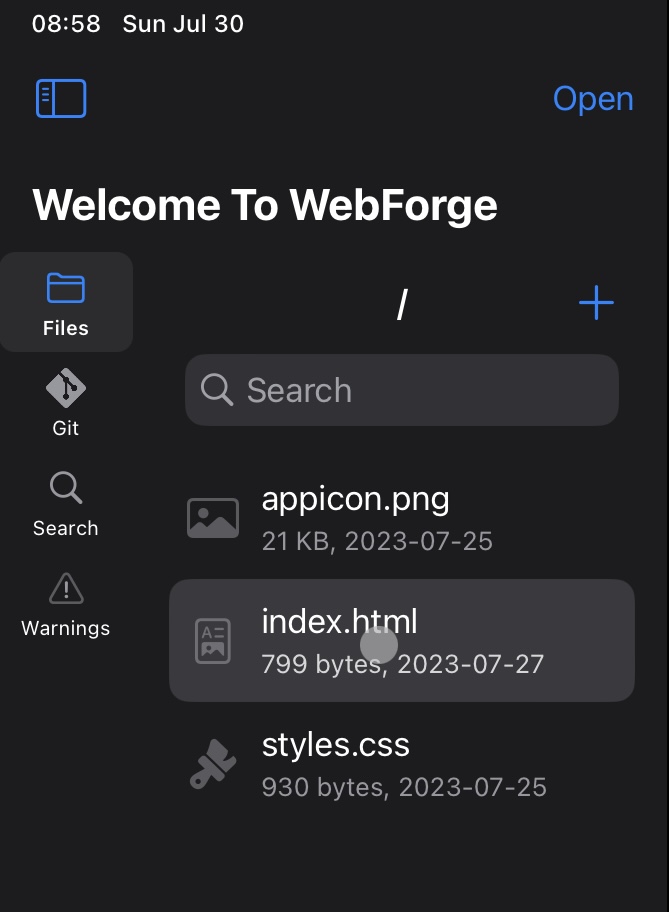
2.1.2 Opening Files
Tapping a file will open it in a new tab in the editor.
➡️
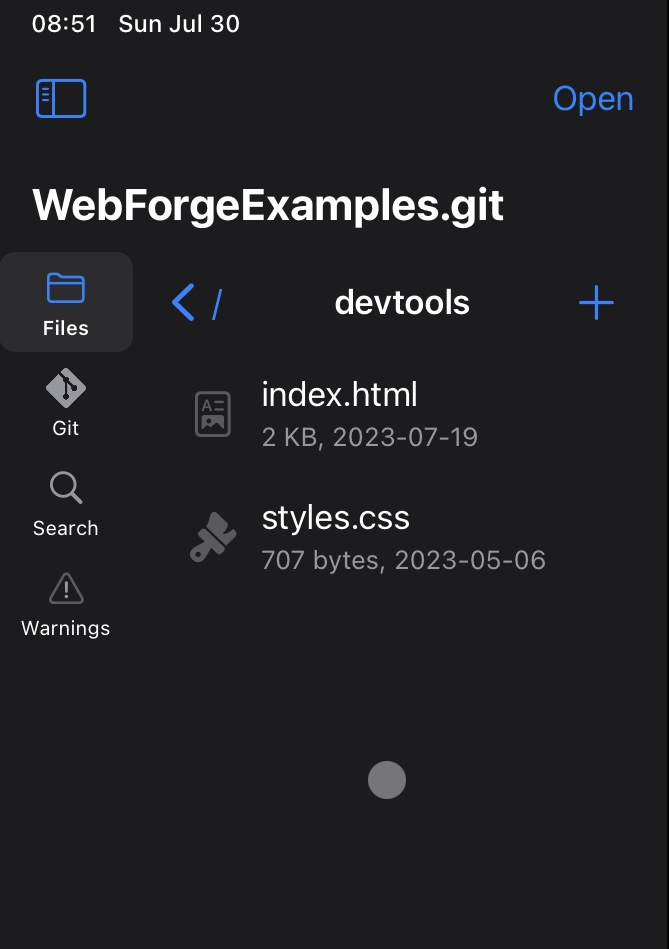
2.1.3 Navigating
Folders appear with a small angle-bracket on the right. You can navigate through your project's folders by tapping them. The folder's contents will then slide into view. To get back to where you were, tap the left-facing angle bracket at the top.
➡️
2.1.4 File Options
2.2 Git
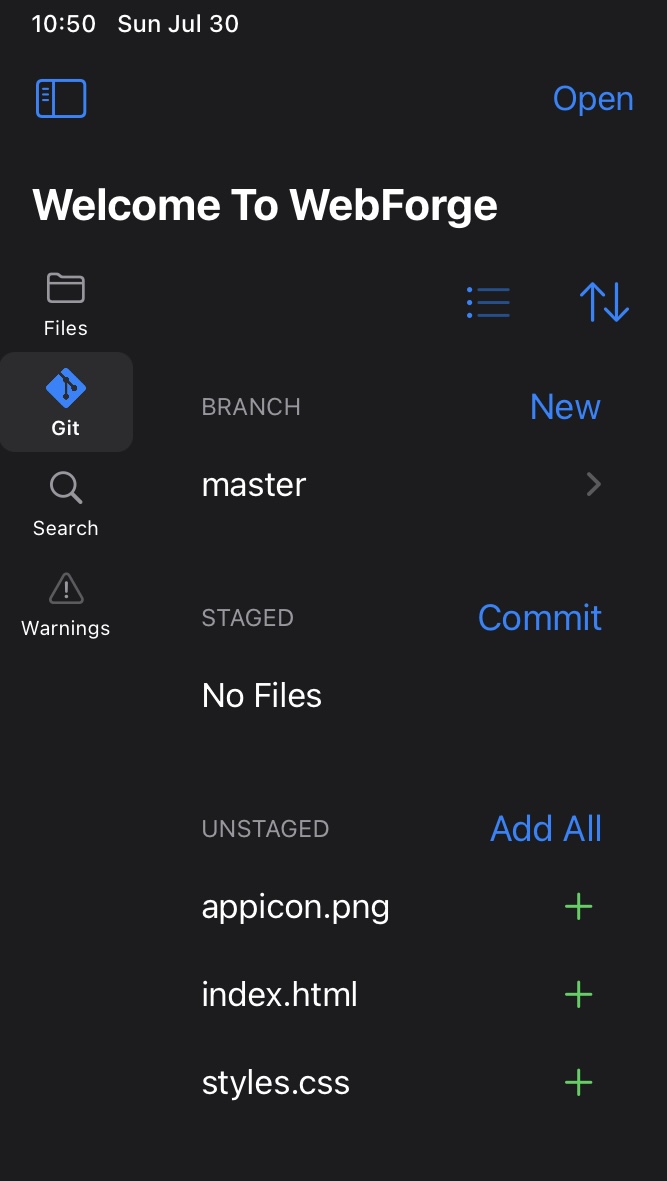
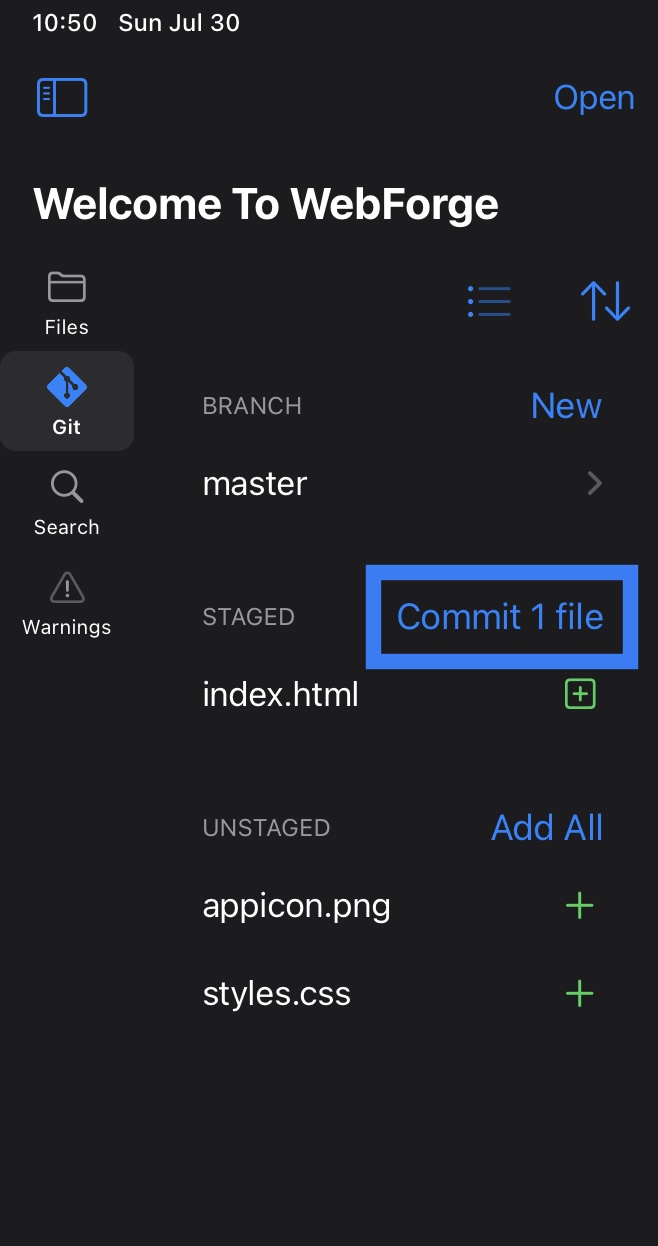
The Git panel allows you to manage a Git repository for your project.
Here, you can track file changes, stage and unstage changes for commit, change branches, and push to and pull from remotes.
The Git panel is an in-app purchase.
2.2.1 Creating a repository
If your project does not have an existing Git repository, you will see this message when switching to the Git panel:
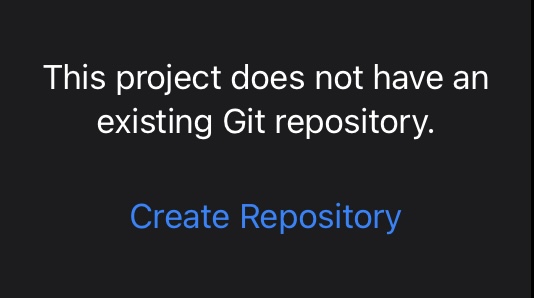
Tapping "Create Repository" will create a new Git repository in a ".git" folder in your project's root folder.
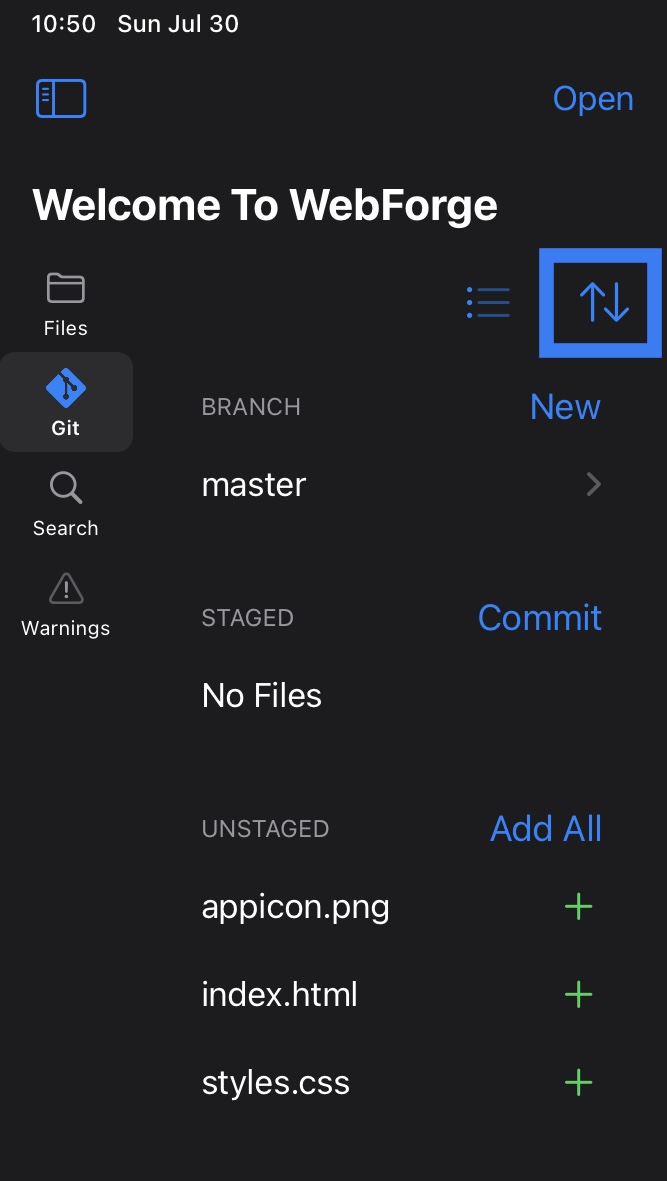
Once the git repository is created, you should see the main Git panel screen, listing branch, staged, and unstaged sections:
2.2.2 Change Icons
In WebForge, file changes are representing using different icons. The Git panel shows these icons next to files. These icons are:
-

A new file that is not staged.
-

A changed file that is not staged.
-

A deleted file that is not staged.
-

A new file that is staged.
-

A changed file that is staged.
-

A deleted file that is staged.
2.2.3 Staging
In Git, staging a file means marking the current changes in that file to be included in your next commit.
To stage a file in the Git panel, drag the file from the "Unstaged" area to the "Staged" area.
2.2.4 Unstaging
Unstaging a file is simply the opposite of staging, that is, removing changes from the next commit.
To unstage a file, drag the file from the "Staged" area to the "Unstaged" area.
2.2.5 Comitting
Once you have staged all the changes you want to commit, tap the "Commit" button at the top of the "Staged" section.
You will then see a popup to create a new commit.
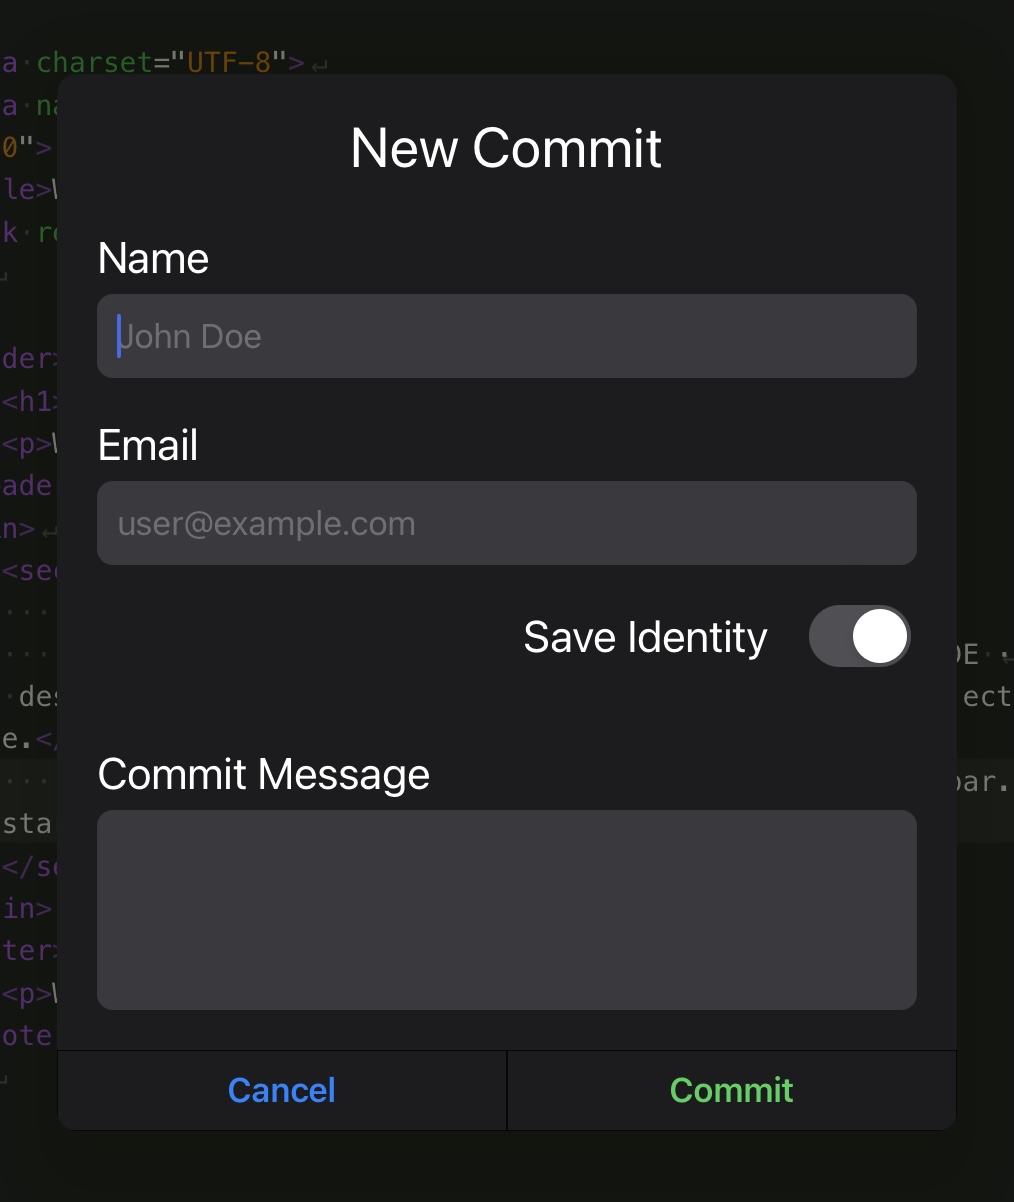
If you have not yet created an identity, the popup will ask you for your name and email. These will be recorded as the "Committer", and "Author" of the commit. For more information on Git identities, see 2.2.8 Identities
Enter your name and email, and enter a commit message. Then tap "Commit".
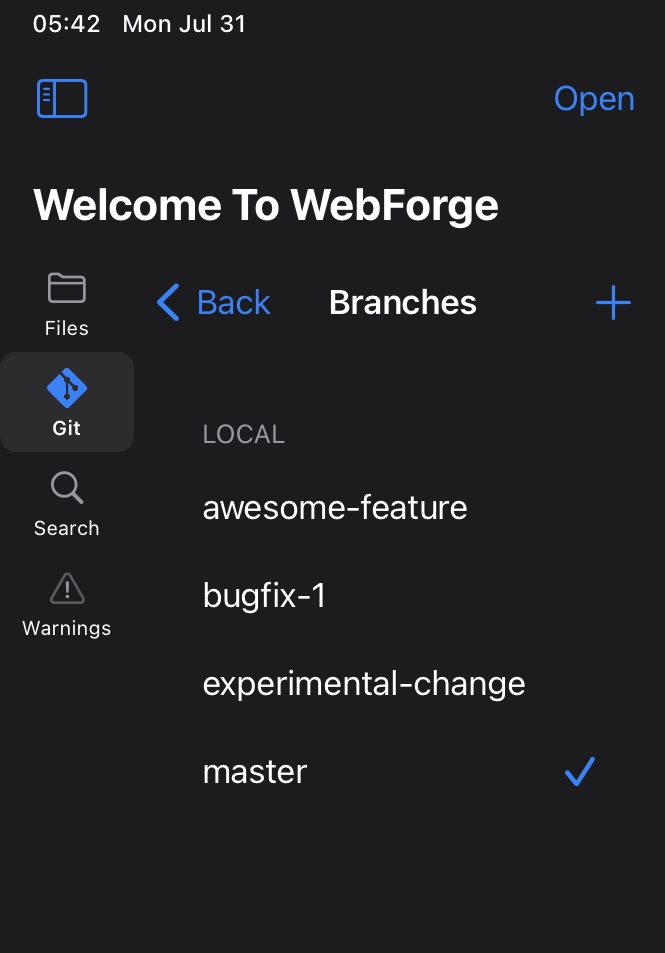
2.2.6 Branching
Git allows you to create "branches" of your code that contain different commits. This can be useful to try out changes to your project without affecting your stable code.
WebForge shows the current branch in the "Branch" section of the Git panel.
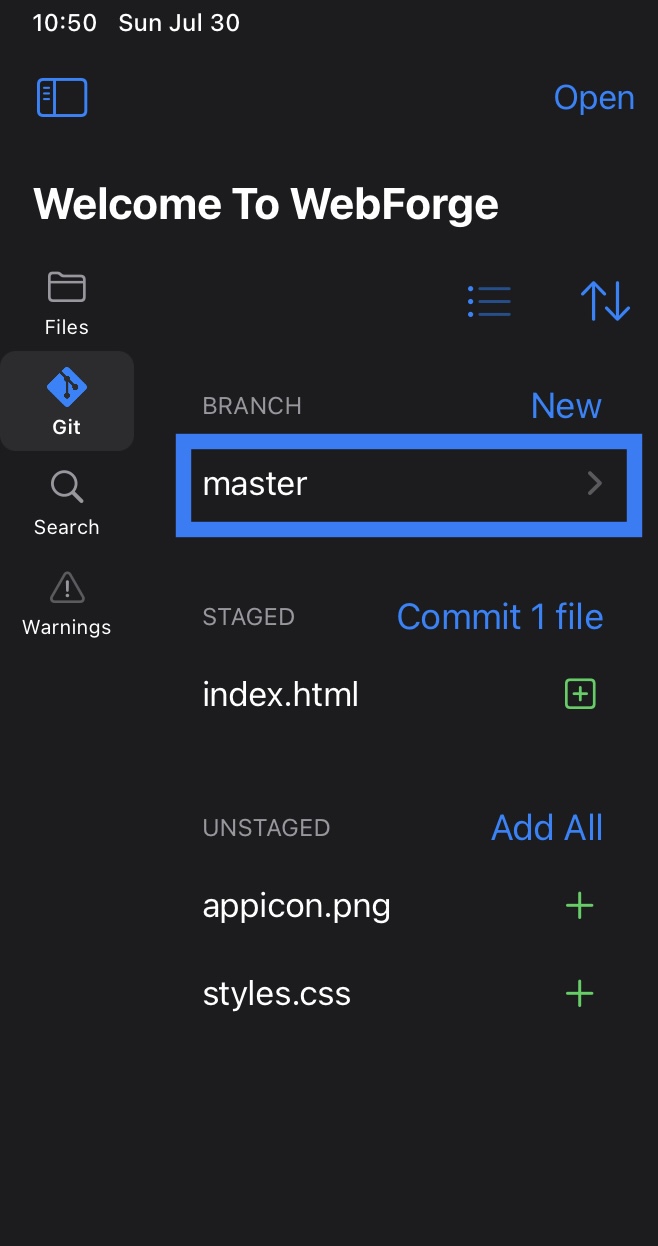
Tapping the branch will show you a list of all available branches in the repository
2.2.7 Remotes
At the top of the Git panel are two buttons. The one on the right, with two arrows going up and down, is the "Remotes" button.
Tapping the Remotes button will show a popup listing the remotes for the repository and options on how to interact with them. If the repository has no remotes, you have the option to add new ones.
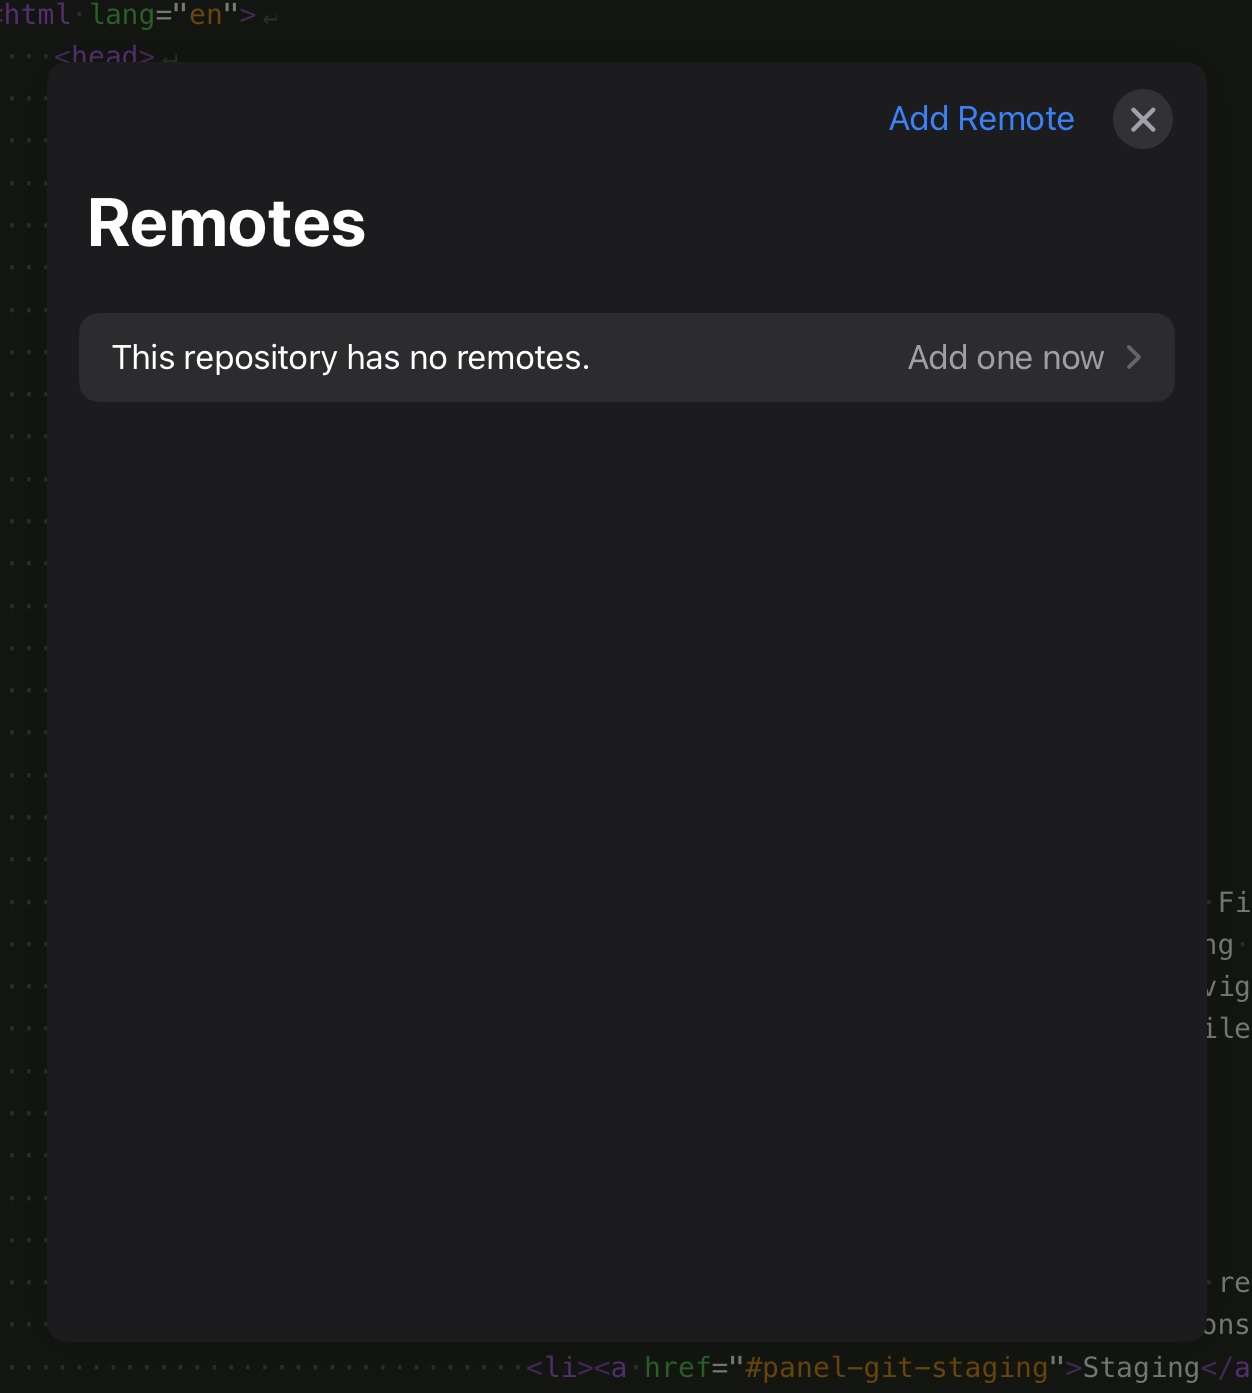
Tapping "Add one now", or "Add Remote" at the top of the popup will open the "New Remote" popup.
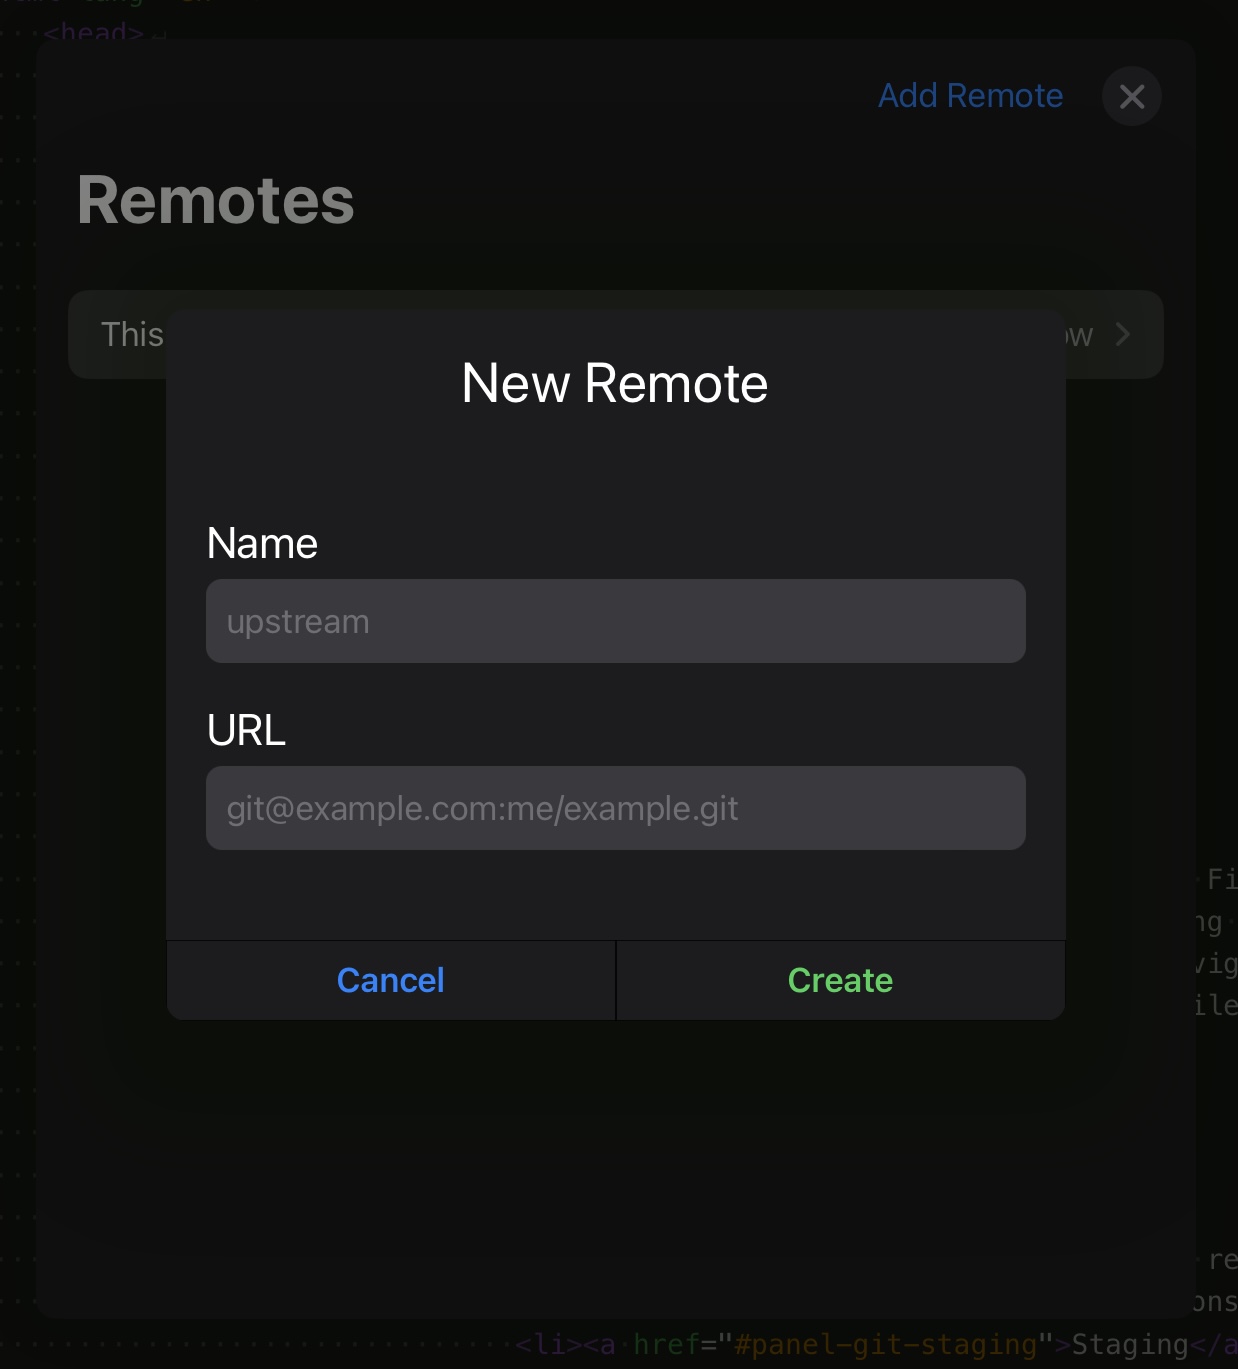
Enter a name and URL for the new remote and tap "Create" to create your remote.
The new remote popup will close and you will see your remote now listed as a remote for the repository.
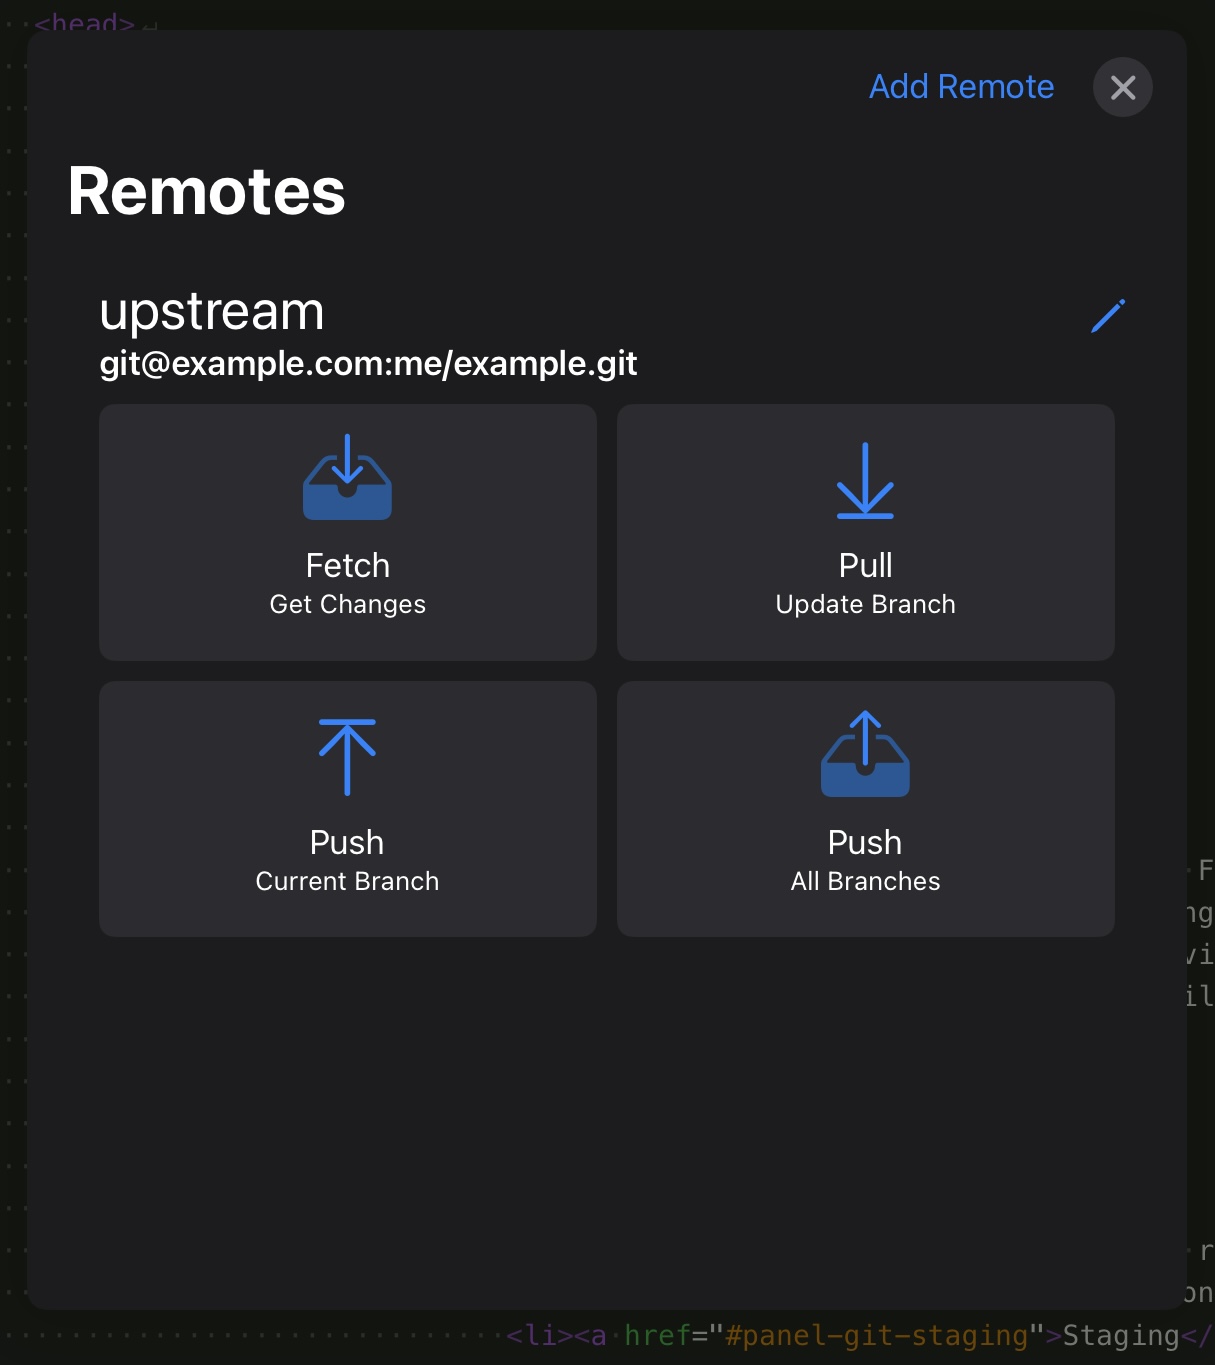
Once your repository has a remote, you will see options for how to interact with the remote.
Fetch Retrieves all branches and commits from the remote. This makes all this information available locally, but does not change any of the code you have checked out.
Pull Updates your branch to the state of the branch on the remote. This will change the code you have checked out locally if newer code existing on the remote.
Push Current Branch Updates the remote with any new commits you have made locally to your current branch and makes them available to other users of the remote repository.
Push All Branches Updates the remote with any new commits you have made locally to all branches and makes them available to other users of the remote repository.
2.2.8 Identities
When you create a commit, a name and email address are recorded in the commit as the author. WebForge allows you to create as many identities as you like, and choose which ones to use when you create a commit.
If you don't have any identities configured, the new commit popup will ask you to enter a name and email address.
You can choose to save this identity so you won't have to enter it again next time.
If you have a saved identity, it will appear pre-filled in at the top of the new commit popup.

You can add multiple identities or configure your saved identities from WebForge's settings.
Tap the settings button:
In the Settings popup, there will be a "Git" section.
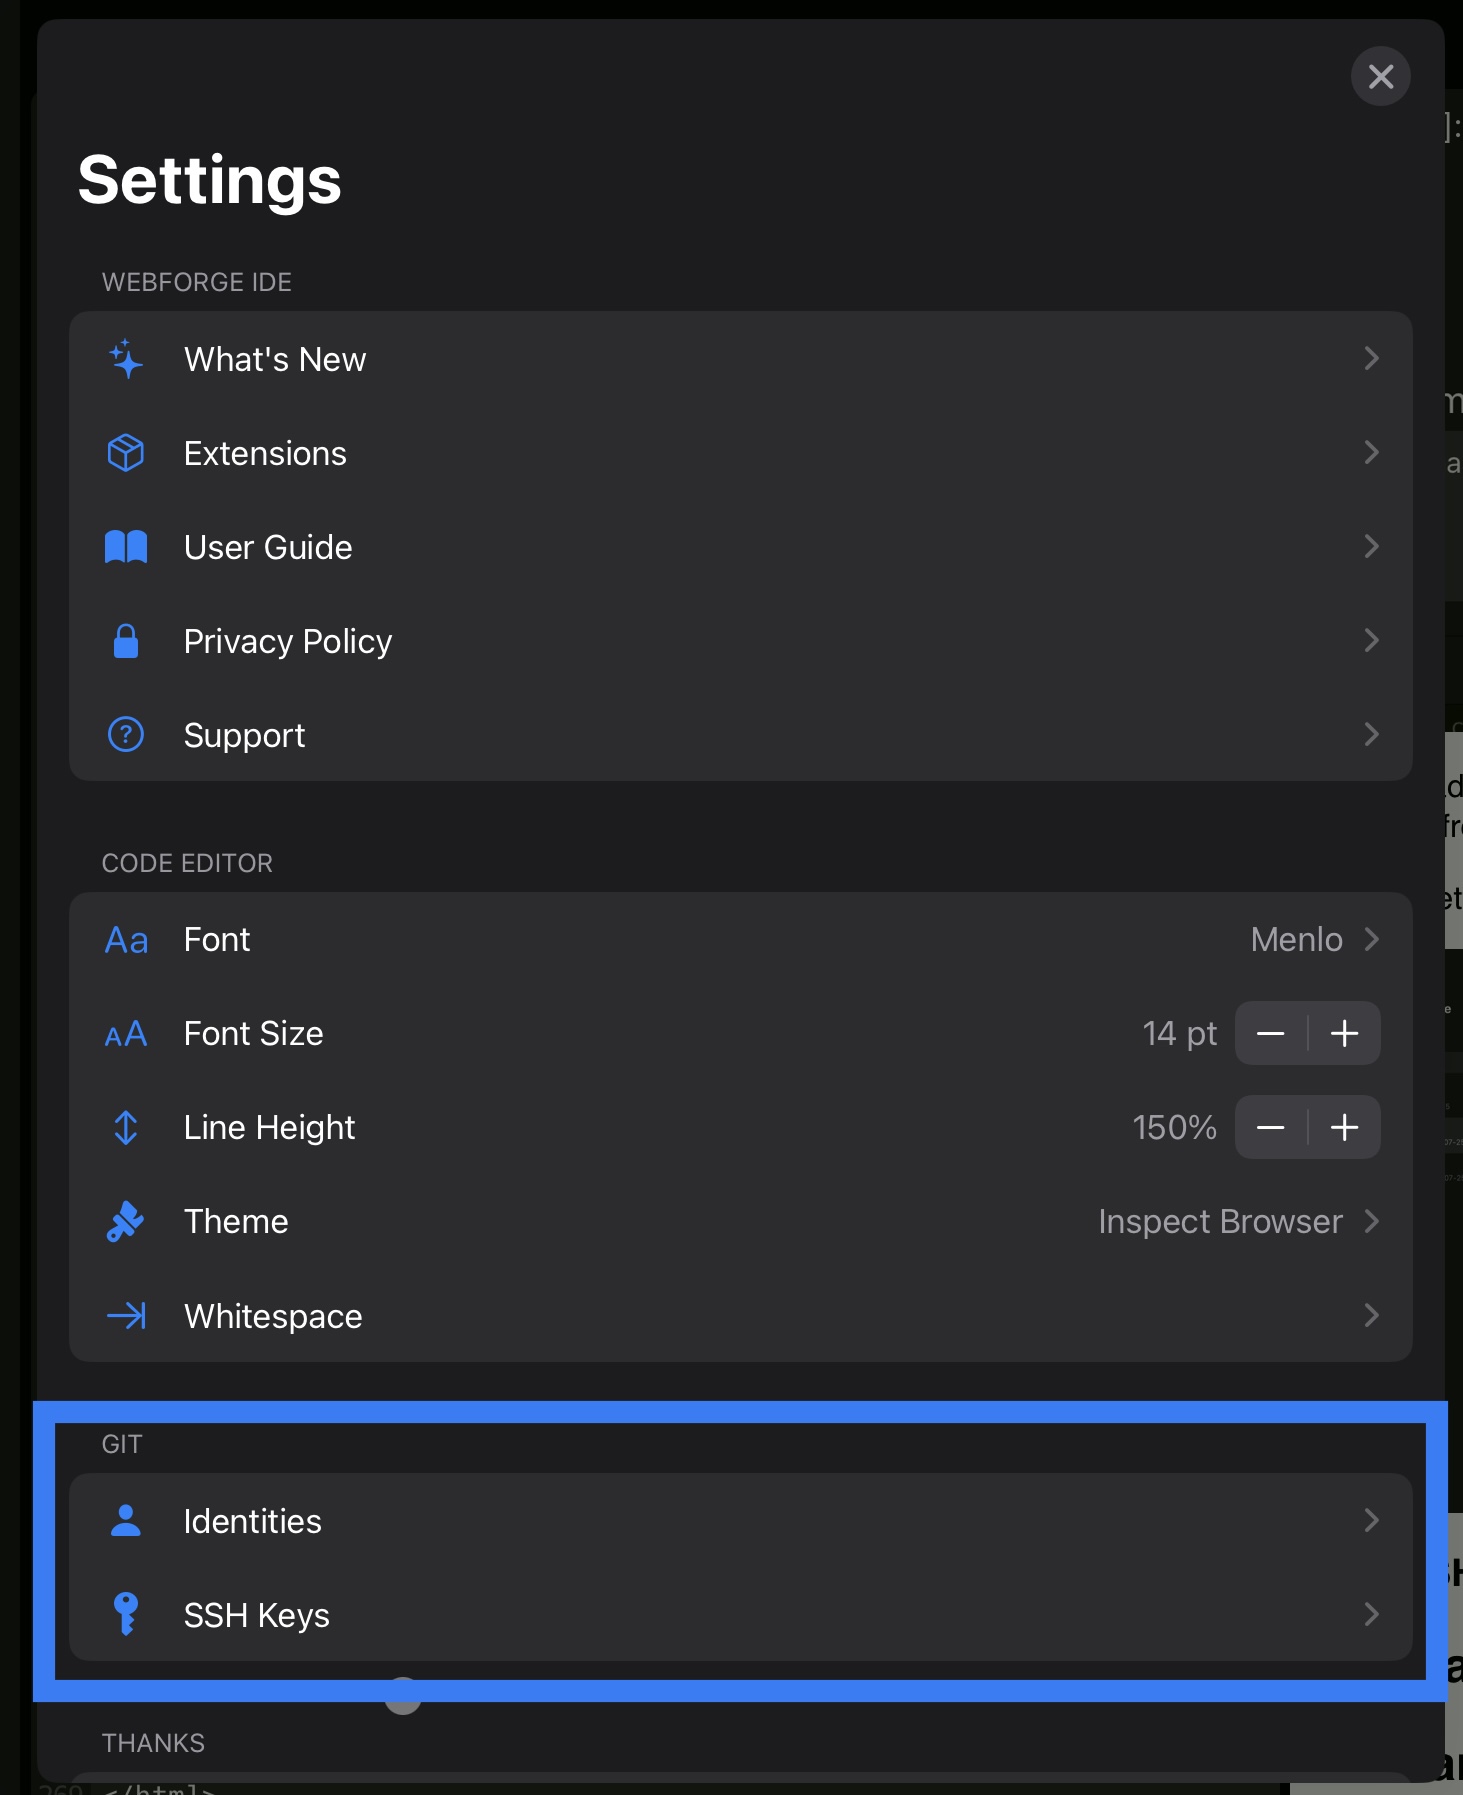
Tap "Identities" to access the Git identities settings screen.
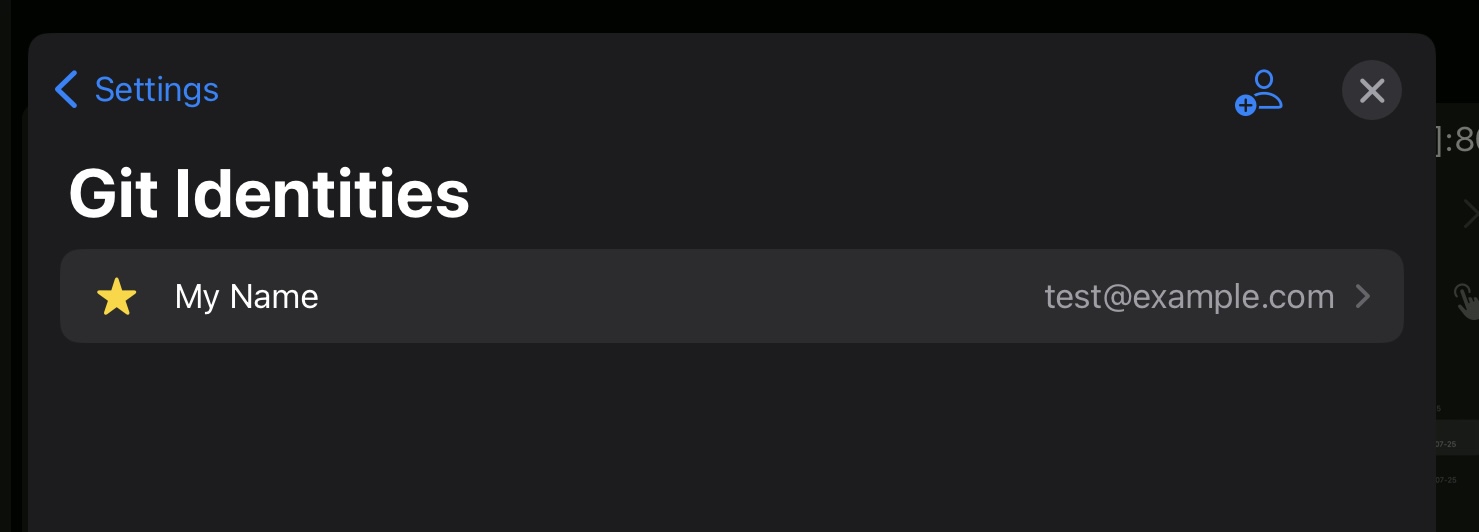
This screen lists all Git identities you have saved.
To add a new identity, tap the "New Identity" button:

This will show you the new identity screen.
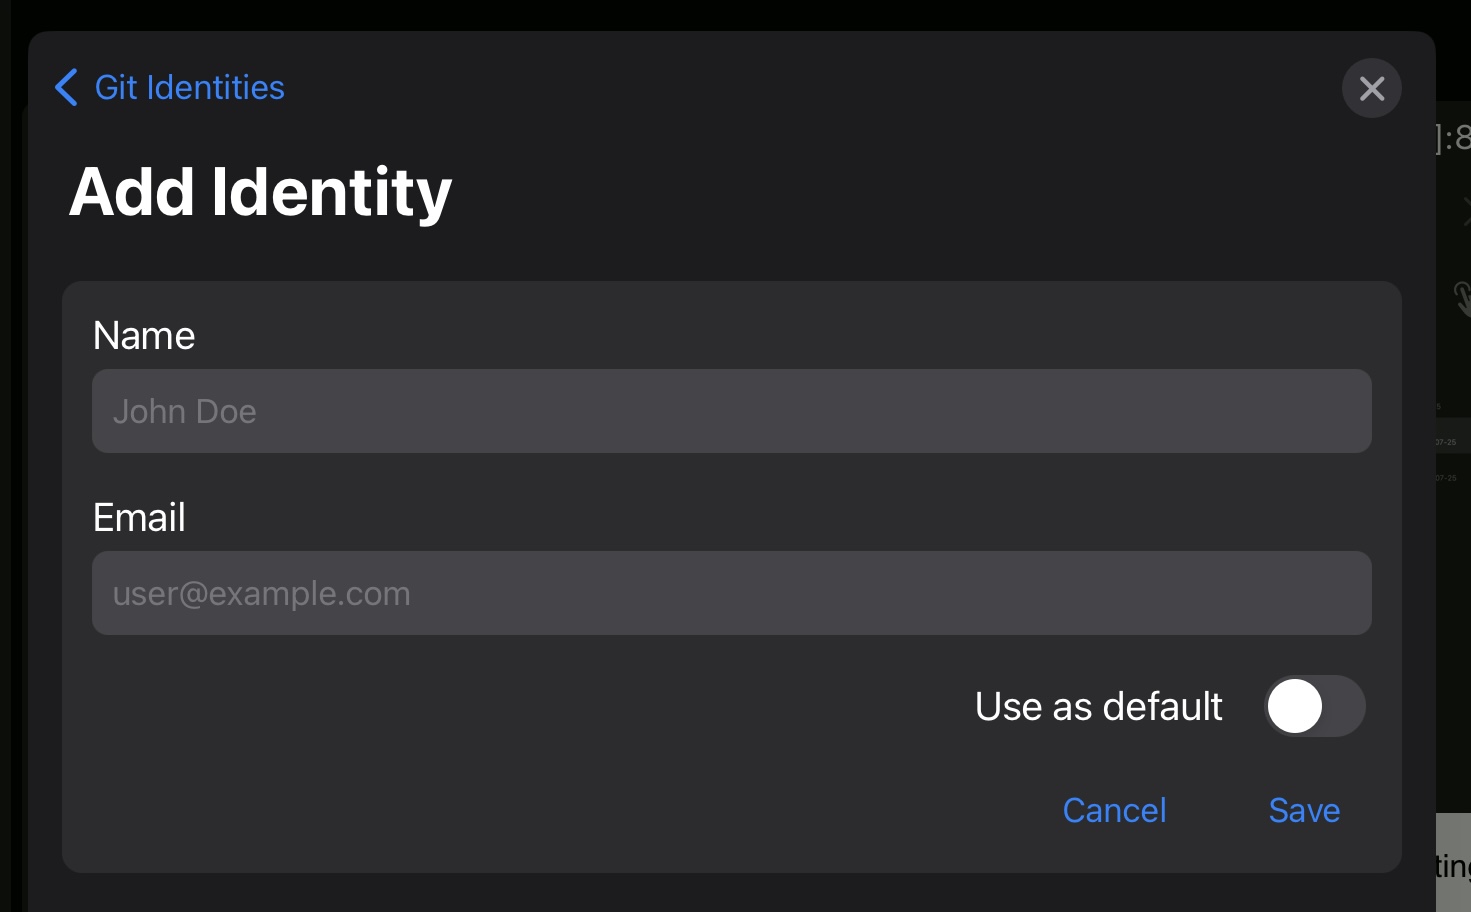
Enter the name and email of the new identity, and tap "Save" to save the identity.
2.2.9 SSH Keys
SSH keys are used to authenticate you when communicating with a Git remote.
To add a new key, tap the "Settings" button:
In the Settings popup, there will be a "Git" section.
Tap "SSH Keys" to access the Git identities settings screen.
SSH Keys are securely stored in your Keychain, and protected by Face ID. If this is your first time accessing SSH keys, you will be asked by the system to approve the use of Face ID.
The SSH keys settings screen lists any keys you have configured, and allows you to add new ones.

Tap "Add one now" or the "+" button at the top of the settings screen to add a new SSH key. You will see the new key screen.
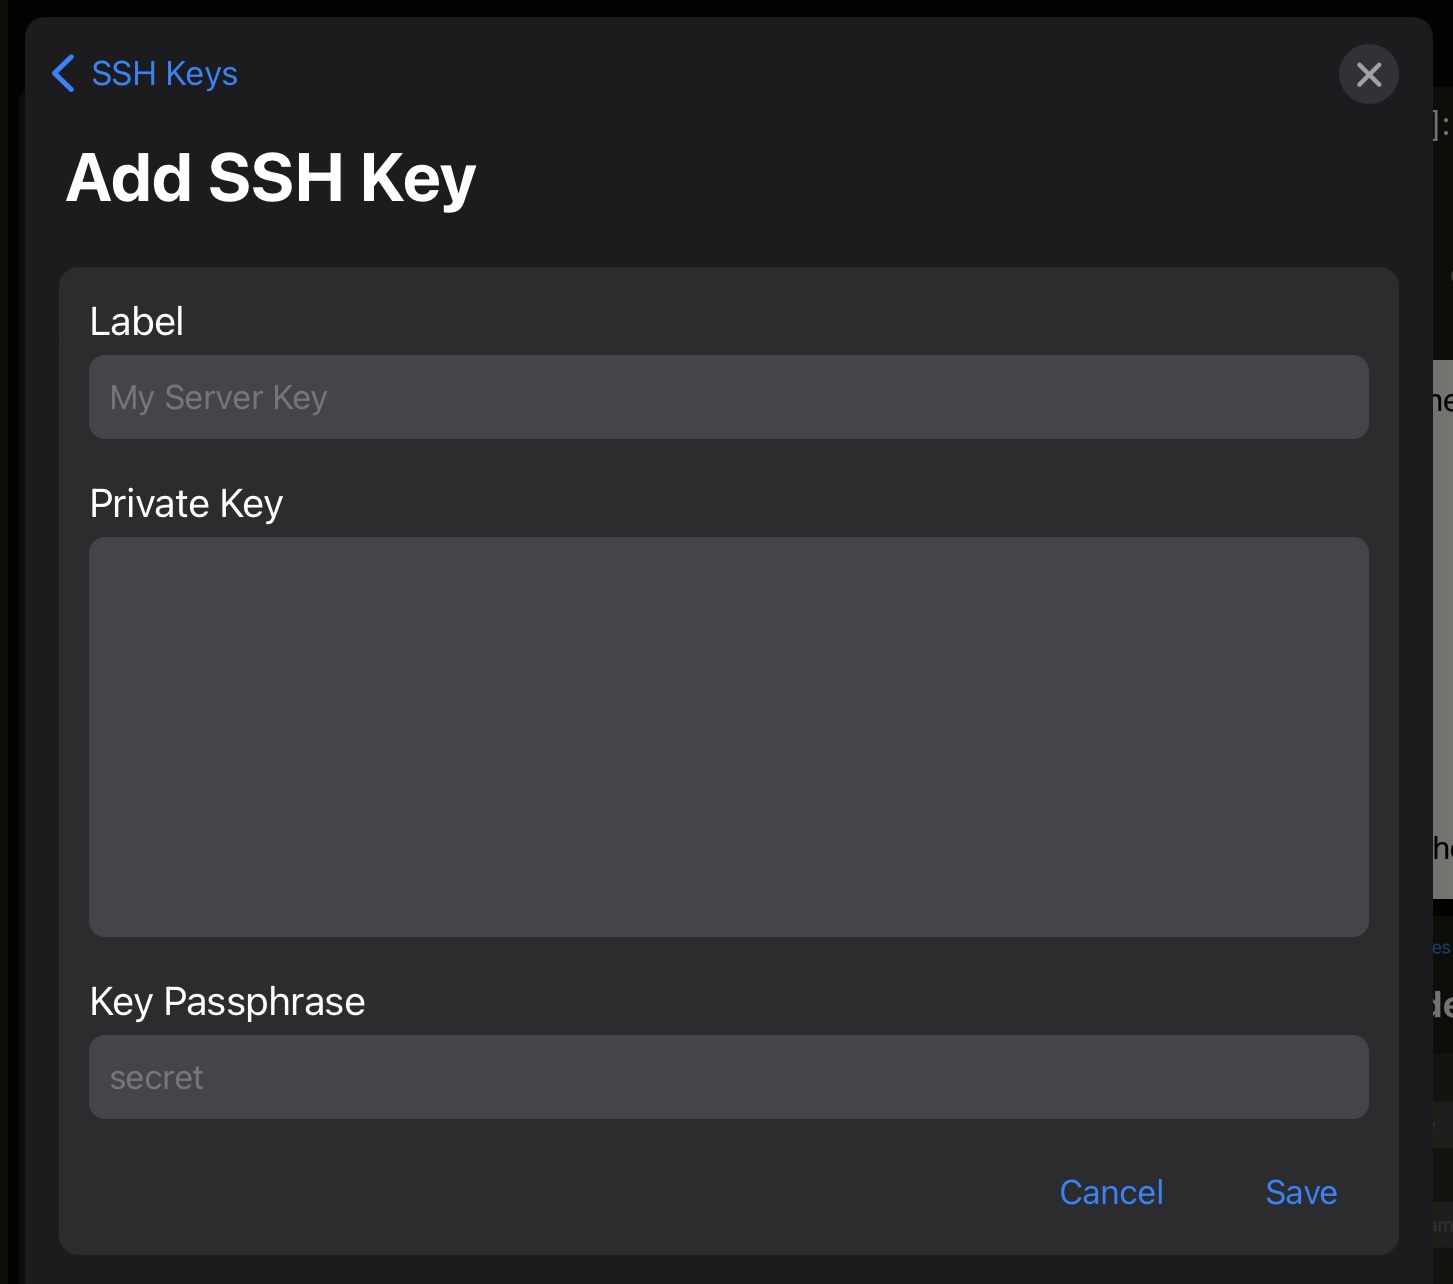
Enter a label to identify the key, the private key text, and the key's passphrase, if it has one. Tap "Save" to save the key.